Aspirin + Caffeine
Aspirin + Paracetamol + Caffeine
Anadin Extra Tablets Anadin Extra Soluble Tablets
Paracetamol
Injury Prevention Exercises
To reduce your likelihood of suffering an injury – and the pain and frustration that entails – there are several injury prevention exercises you can work into your routine.
While accidental sprains and strains can’t always be prevented, you can reduce your risk of some injuries by:
- Always warming up before exercising
- Regular walking and stretching
- Not pushing yourself past your current fitness level
- Using and setting up equipment properly
- Getting coaching or training to ensure you’re using techniques correctly.
Discover our recommended injury prevention exercises below. These exercises cover different areas of the body, so you can target and strengthen the parts you have trouble with. These include ankle, hamstring, and shoulder exercises, among others.
Consult a healthcare professional before changing your exercise routine to check that certain strengthening exercises are safe for you to practice.
Ankle Exercises
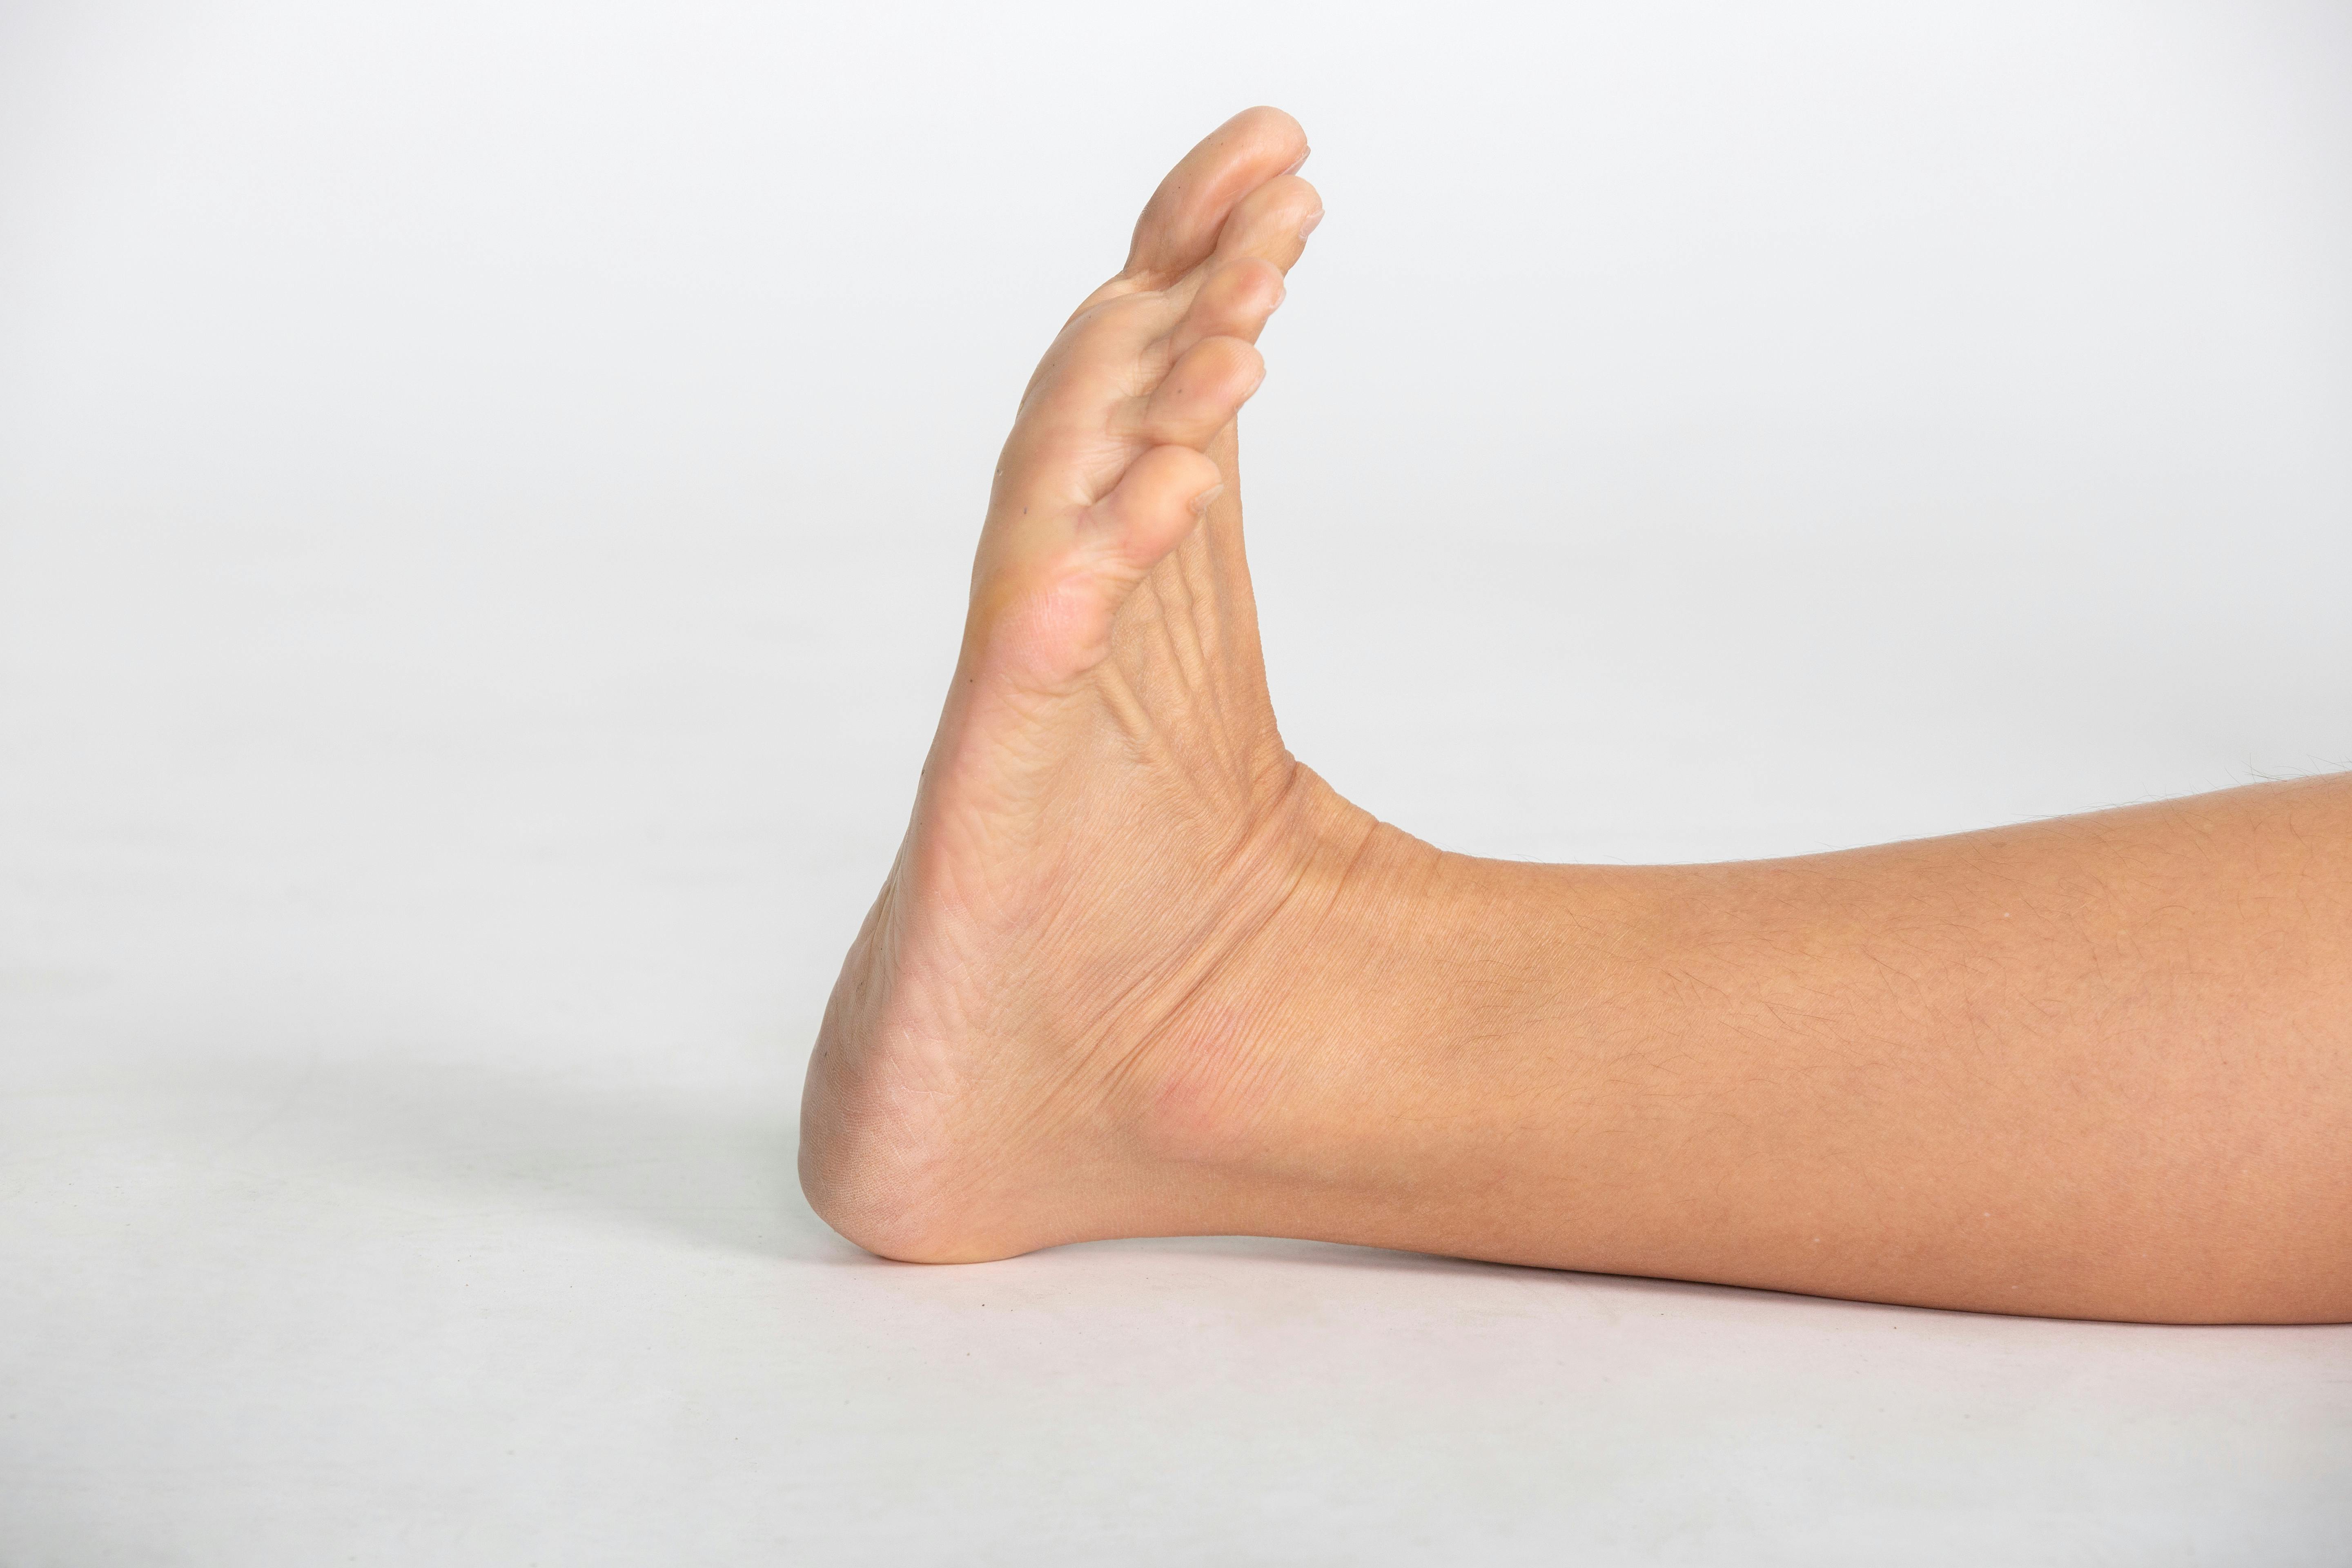
Ankle injuries happen when you twist or turn your foot beyond its normal range of movement, stretching or tearing the ligaments that support the joint. Increase your ankle mobility and help prevent injury with the 2 ankle strengthening exercises below:
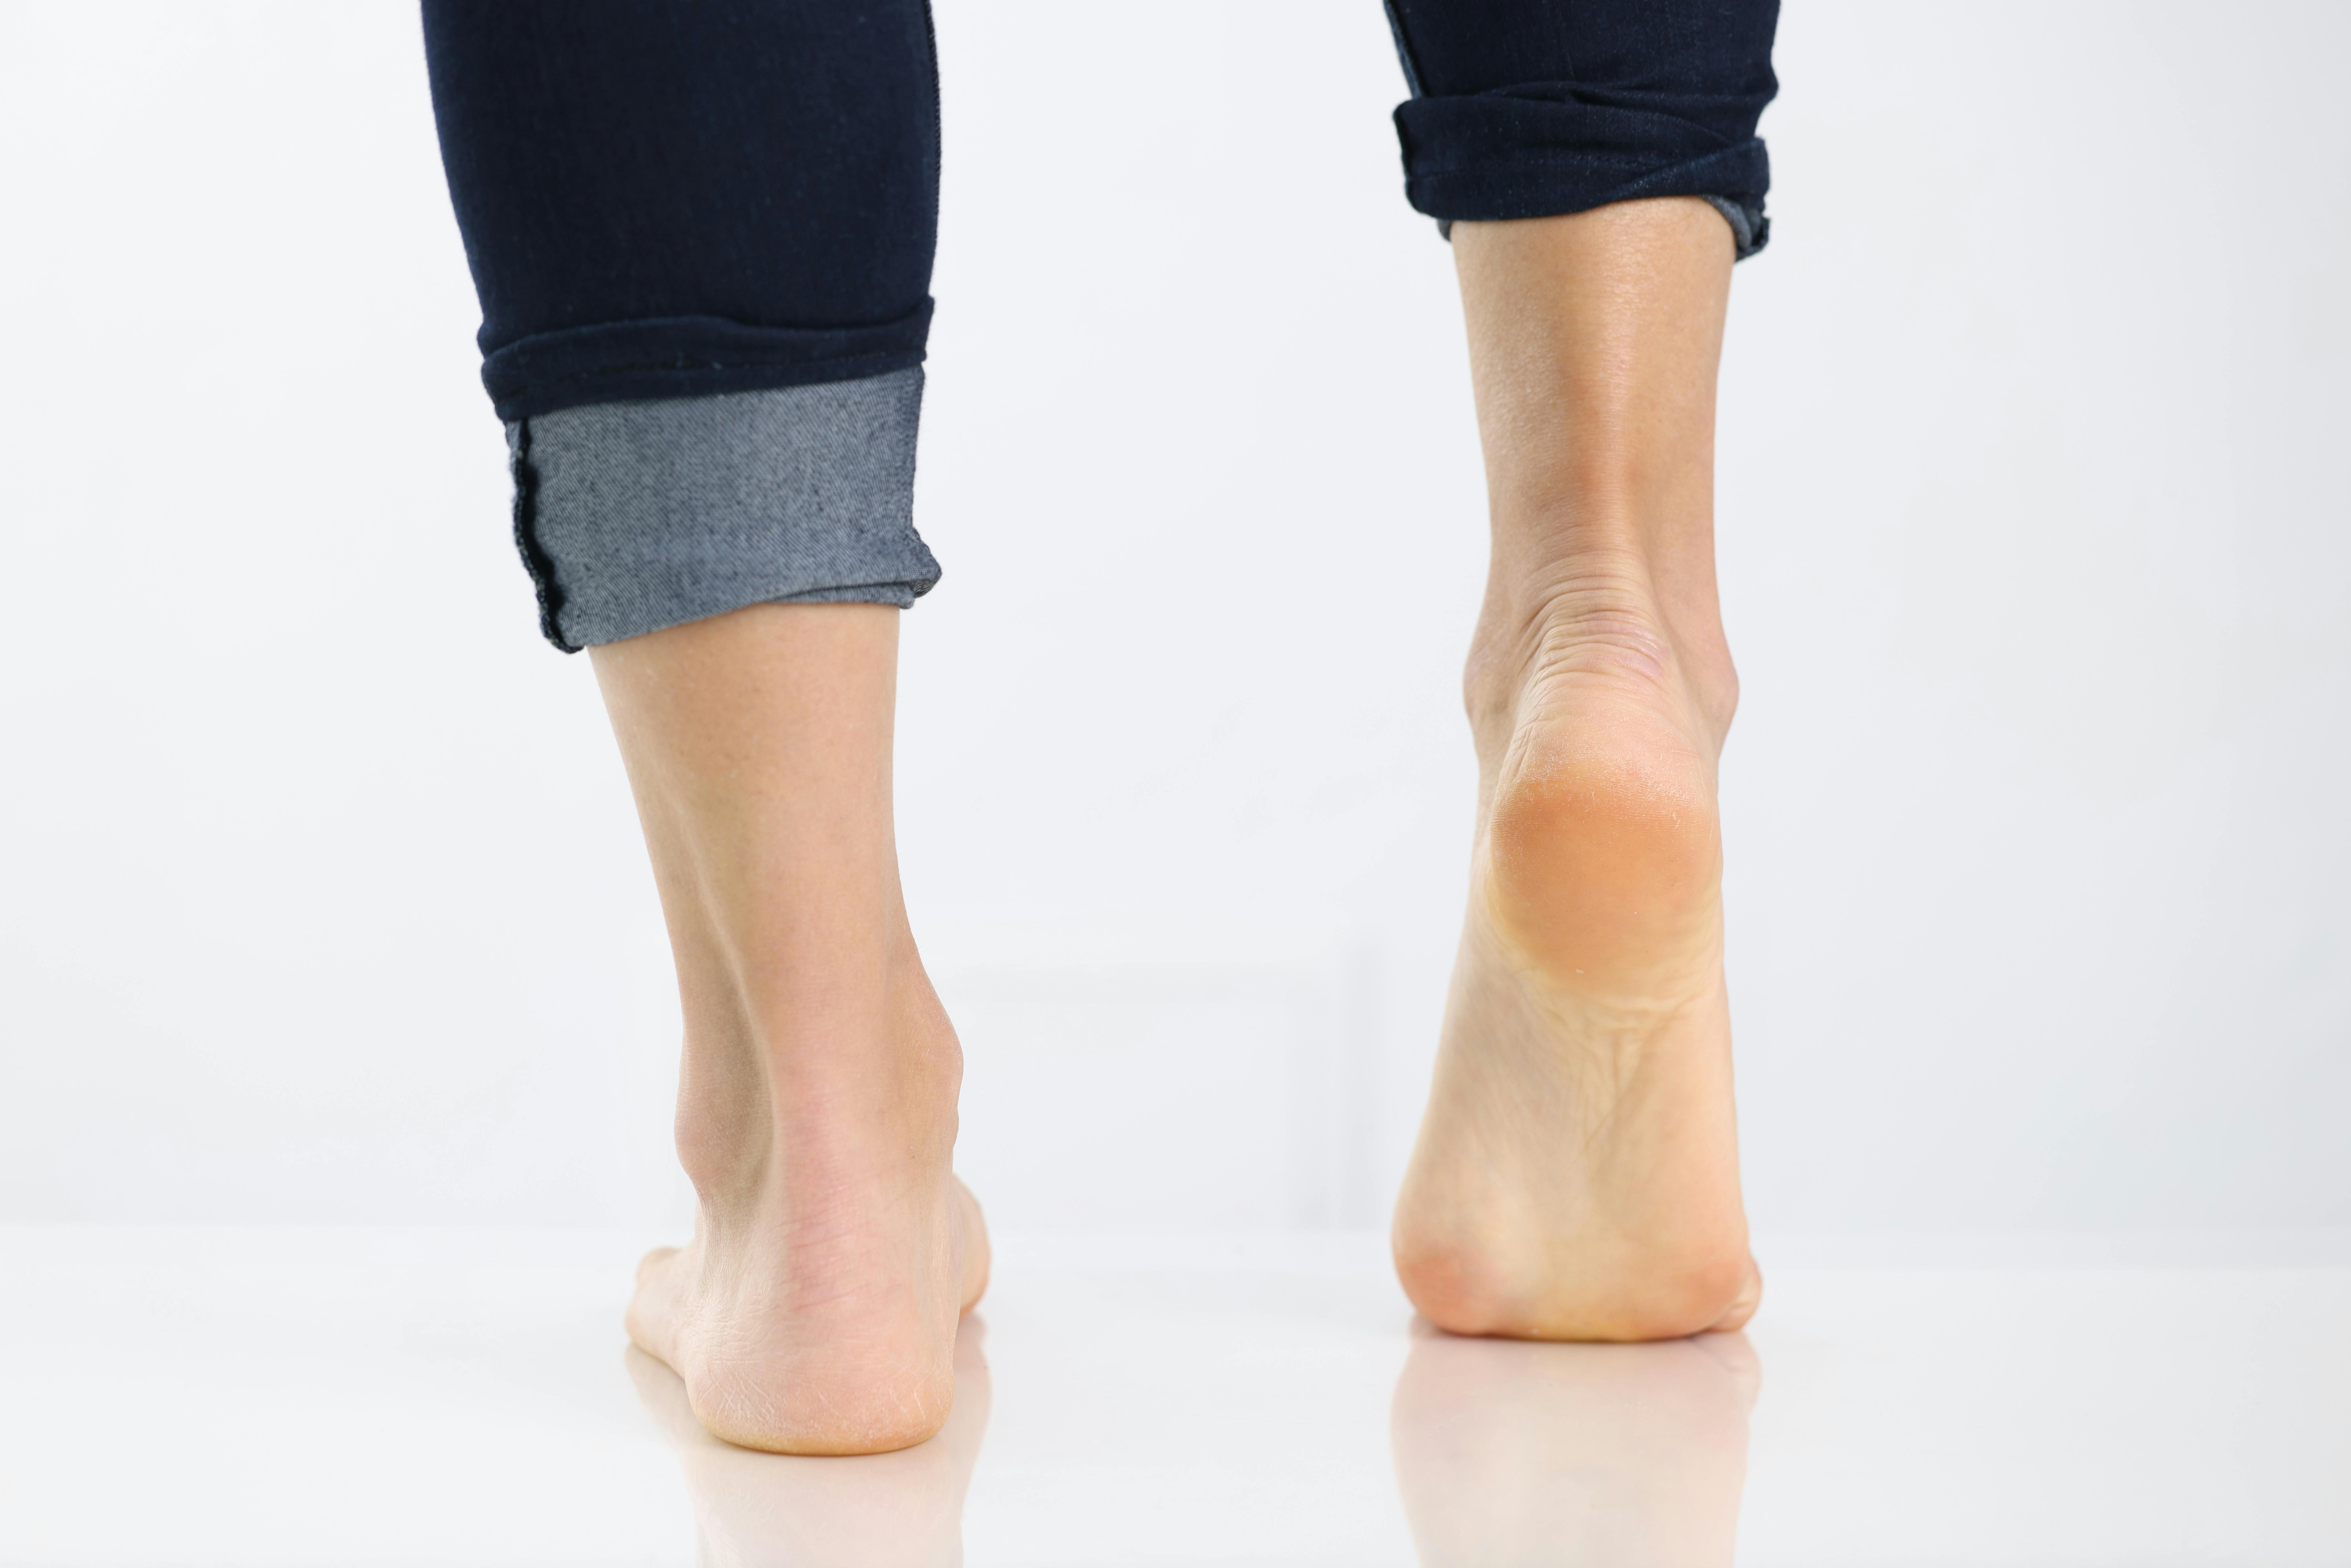
Seated Heel Raises
- Sit on a chair with both feet flat on the floor
- Gradually raise one heel up as far as feels comfortable
- Lower your heel back to the floor
- Repeat with the other foot.
Ankle Circles
- Sit or lie down
- Slowly rotate your ankle in large circles, first clockwise then anti-clockwise
- Repeat as many times as is comfortable, one foot at a time.
Groin Exercises
Groin strains occur when muscles at the tops of the thighs are pulled, torn or partially torn. By practicing groin pull exercises and stretches, strains can be helped to heal or prevented in the first place; but serious strains may need the help of a physiotherapist to recover.
Get started on reducing your risk of groin injury with the below groin exercises. The butterfly stretch targets the adductor (groin) muscles and hip flexors, helping to increase hip mobility and improve lower back pain, while the Copenhagen adductor exercise helps strengthen hip adduction and reduce risk of groin injuries – especially in field sport athletes where groin injuries are common.
Butterfly Stretch
- Sit on the floor with your knees bent and the soles of your feet touching
- Place your hands on your shins or feet (bring your feet closer to your hips for a more challenging stretch)
- Allow your knees to fall to the sides slowly – like a “butterfly” – as far as feels comfortable. Elongate your spine as you do this
- Hold for 30 seconds
- Repeat 3-5 times.

Copenhagen Adductor
- Grab a chair or bench
- With the chair/bench at your feet, lay on your side on the floor
- Raise your top leg and rest your foot at the ankle on the chair/bench
- Prop yourself up on the elbow closest to the floor, engaging your core and keeping your hips aligned
- Carefully raise your lower leg up to meet your top leg, using your glutes to raise your body off the floor – this will look like a side plank with your top leg held up by the chair/bench
- Hold the pose, or you can slowly move your lower leg up and down
- Repeat facing the other way
Hamstring Exercises
Pulling a hamstring (the large muscle at the back of the thigh) is a common injury for athletes. A hamstring injury can range from a pulled muscle to a complete muscle tear. A mild hamstring pull or strain may take only a few days of rest to recover, whereas muscle tears can take weeks or months to heal.
Hamstring strengthening exercises are a good way of warming up before exercise and to help prevent injury. Below are some hamstring stretches and exercises – the simple forward lunge and the intermediate Bulgarian split squat – that may help prevent hamstring injuries when incorporated into your exercise routine:
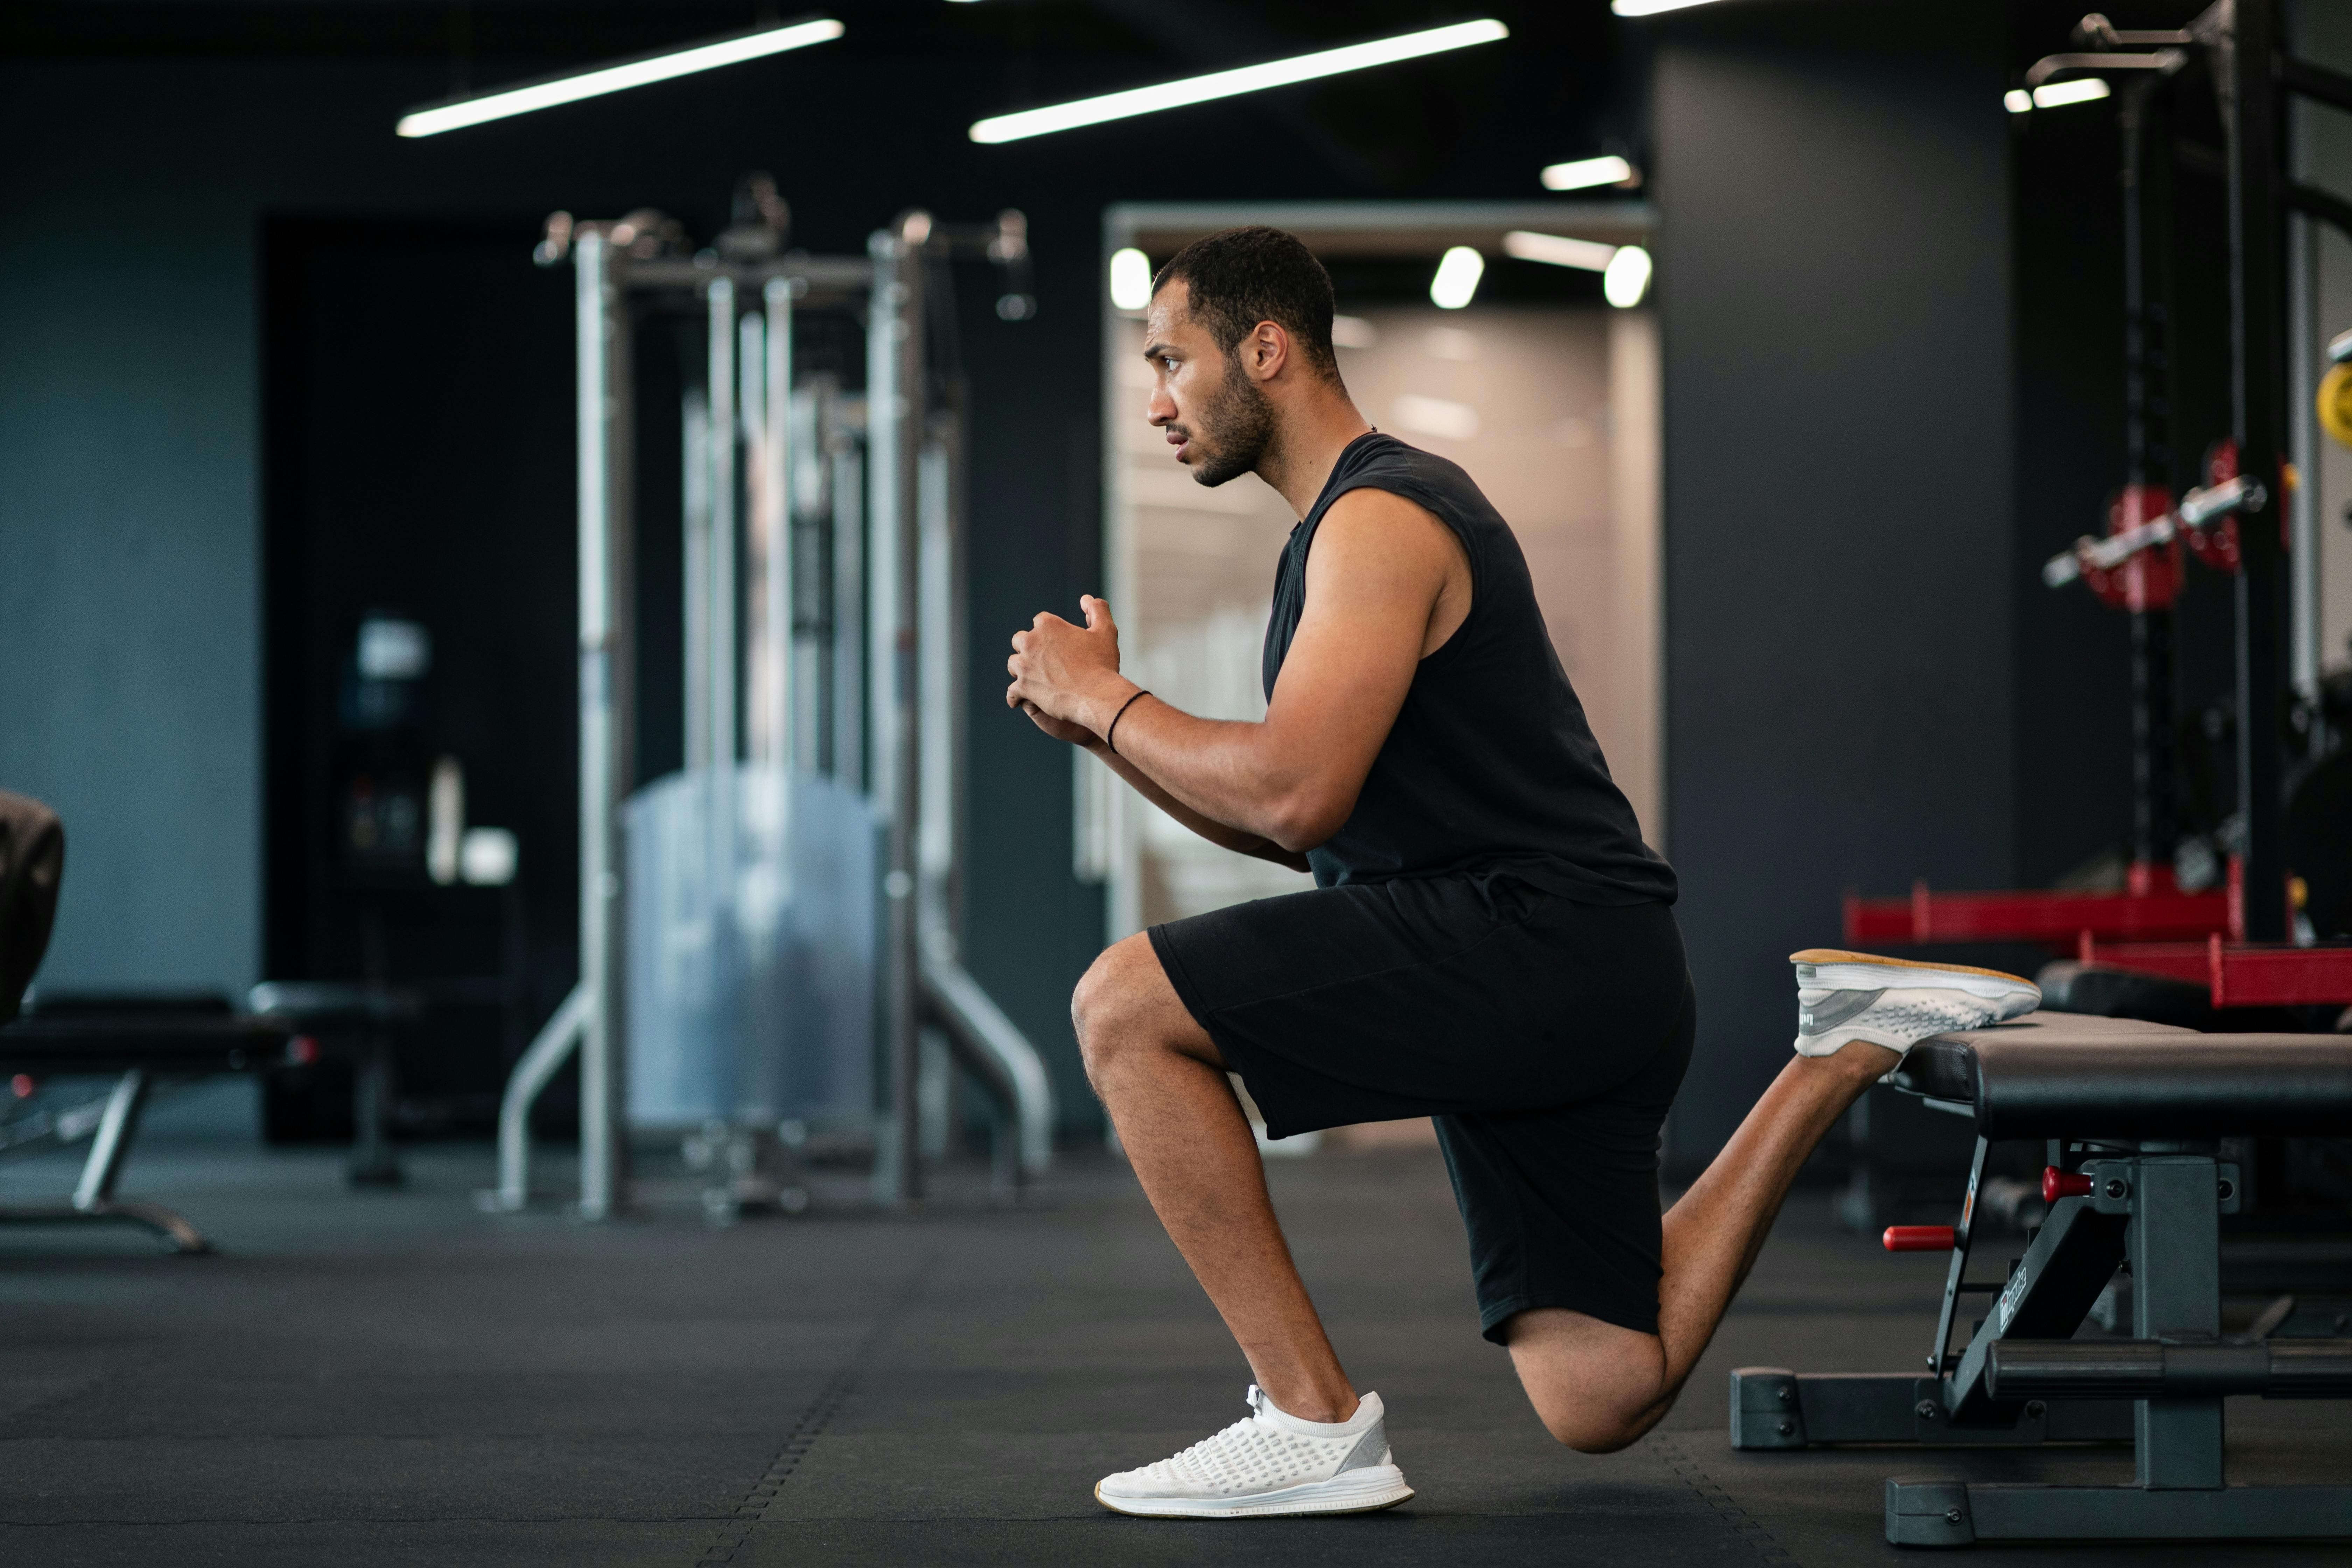
Bulgarian Split Squat
Stand 3 steps in front of a bench, facing away from it
- Rest one leg on the bench behind you, with the sole of your foot facing upwards
- Bend the knee of your front leg to get into a squatting position. The knee of your back leg should touch the floor (if it can’t, get a lower bench)
- Once you have the form right, you might think about introducing weights – start with small dumbbells or a kettlebell, before moving onto a barbell when you’ve mastered the move with smaller weights.
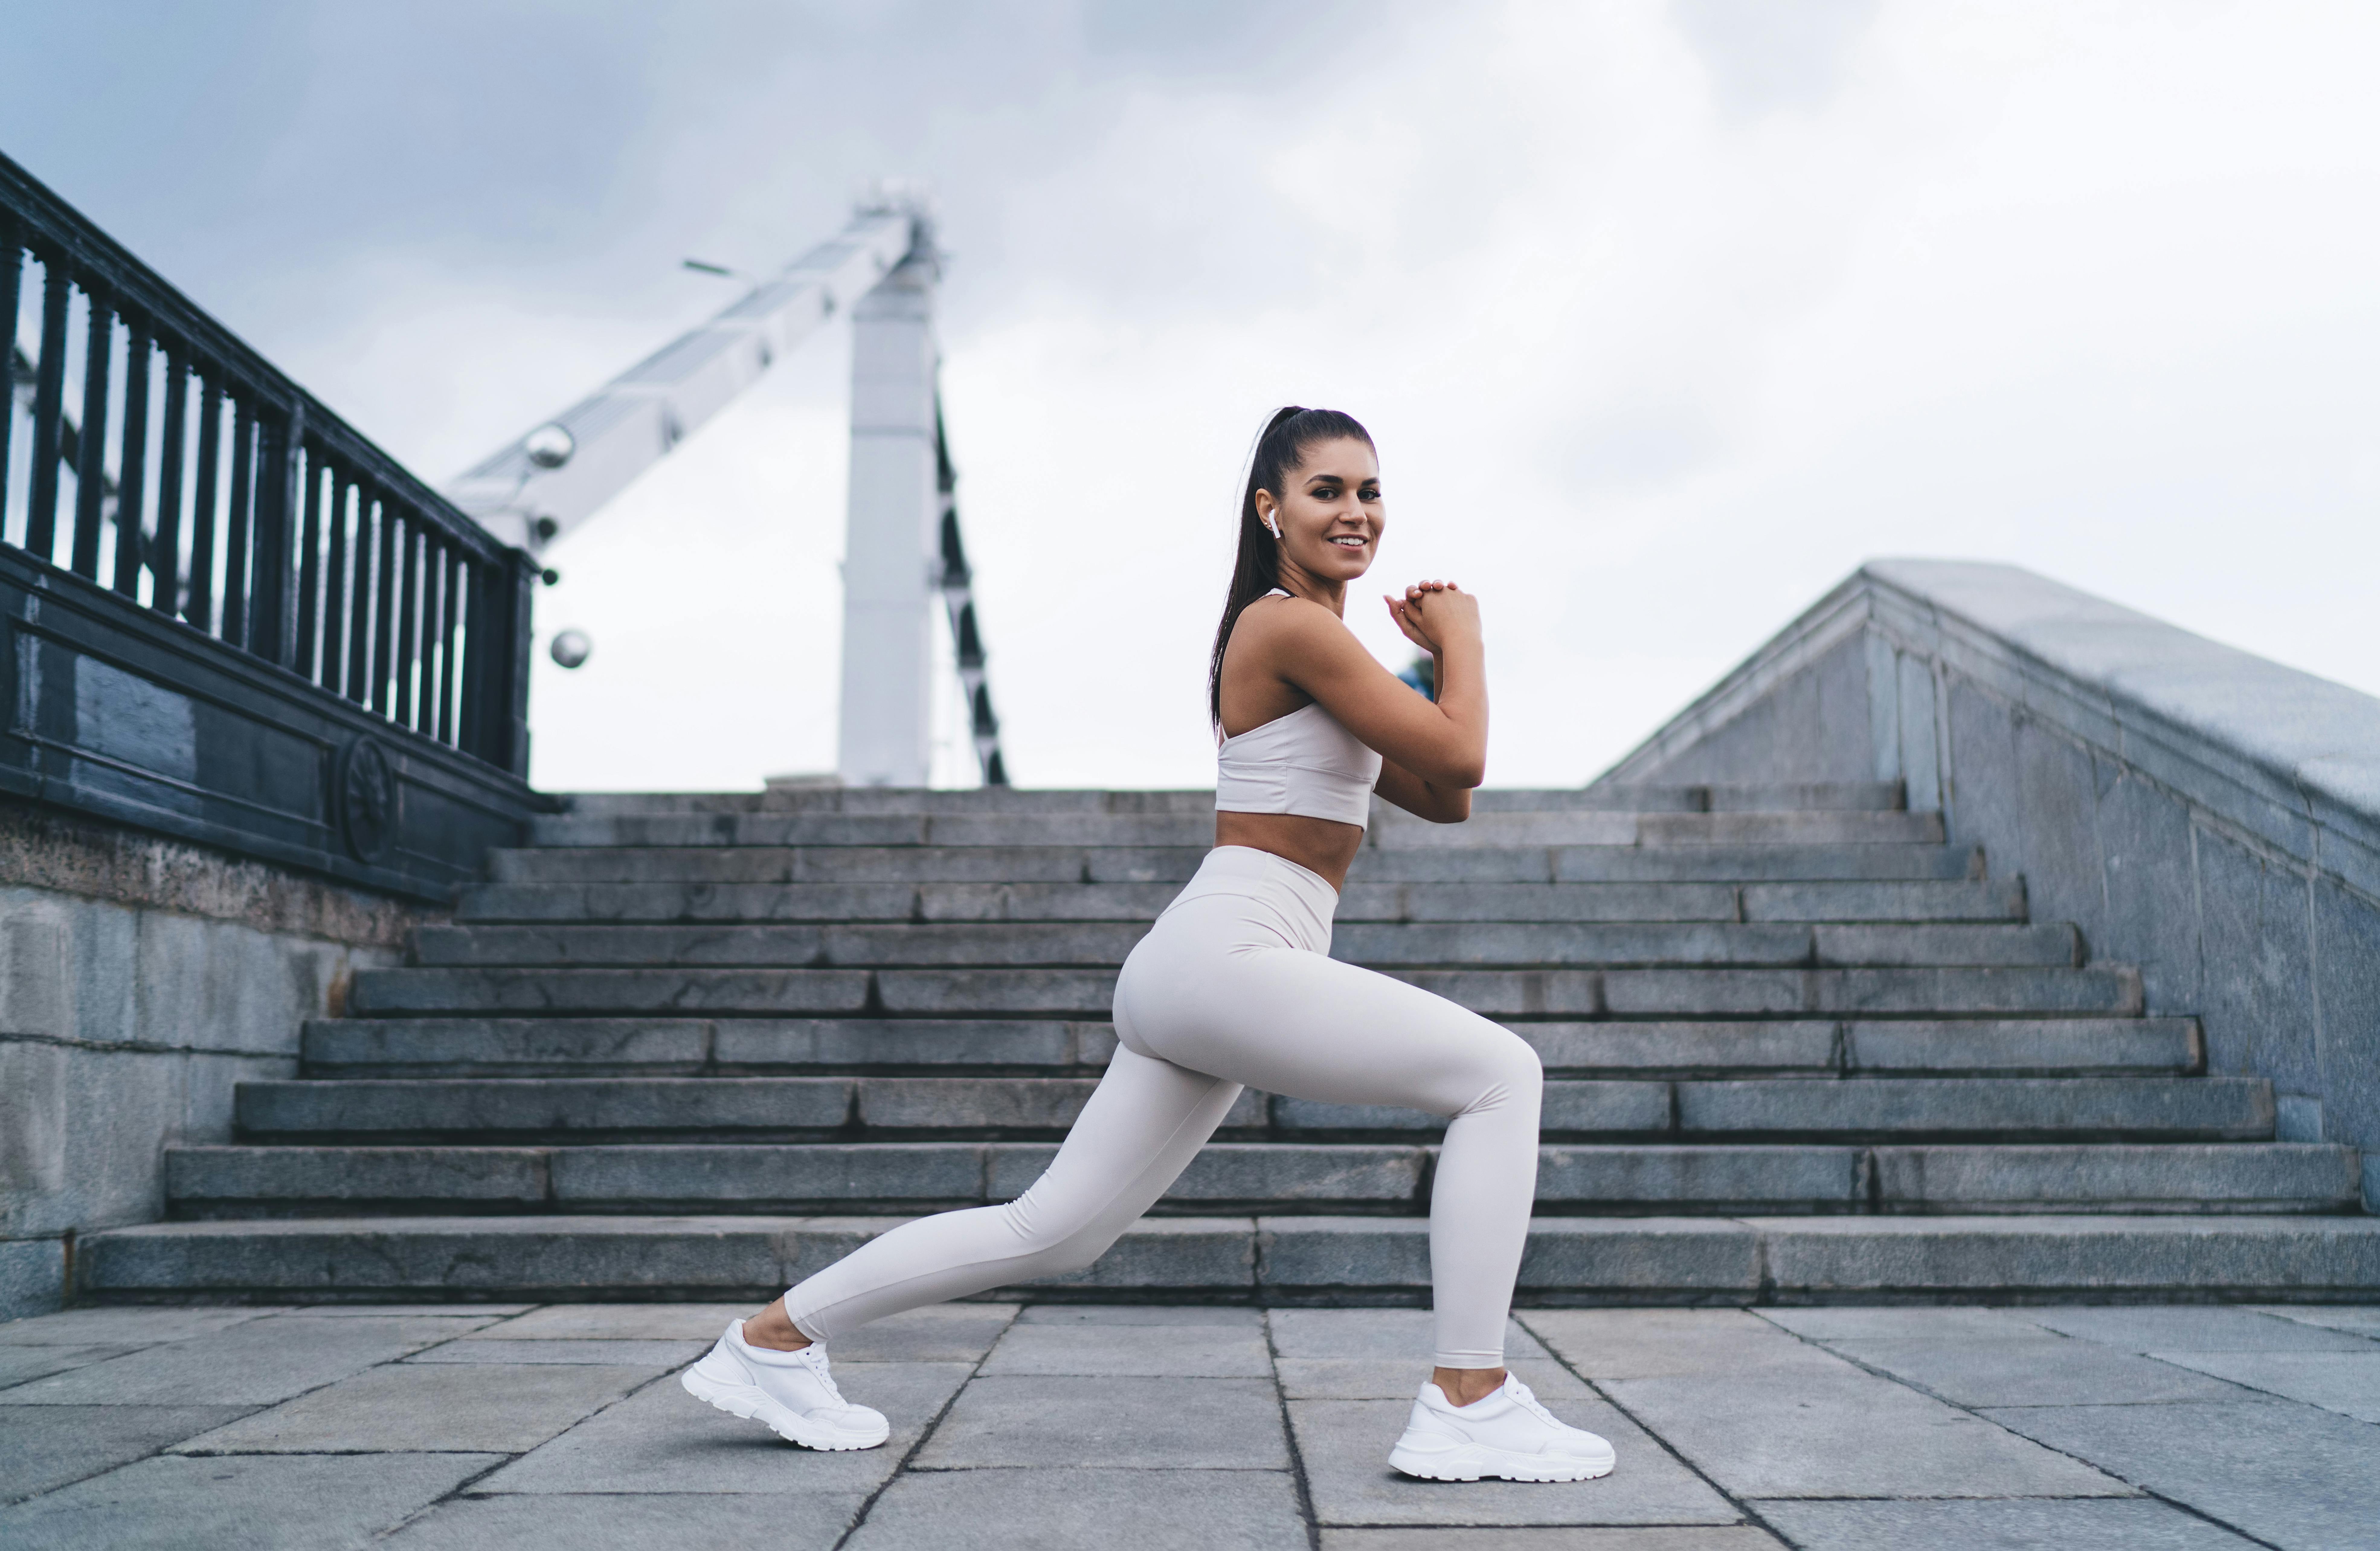
Forward Lunge
- Stand with your feet hip-width apart, hands by your sides
- With one foot, take a big step forward
- Bend your front knee until it forms a 90-degree angle in front of you, and bend the back knee so it’s almost touching the floor. Clasp your hands in front of your torso
- Press down into the heel of your front foot to pull yourself up to standing again. This is one completed rep (repetition)
- Repeat 3 sets of 12-15 reps on each leg for best results.
Knee Exercises
Did you know that your knee is your body’s largest joint? The knee joint is involved in everyday activities like walking, running, jumping, climbing and because of this, is prone to injury. Knee strengthening exercises can help build the muscles that support the joint, helping to prevent pain and injury. Learn how to do 2 knee exercises here:
Knee Rolls
- Lay flat on the floor or bed – if your muscles start to spasm, raise your knees while keeping your feet flat on the floor/bed
- First, roll your knees to the left, as far as feels comfortable – make sure your shoulders always stay in contact with the floor/bed
- Bring your knees back to centre
- Repeat by rolling your knees to the right
- Do this 3-5 times on each side.
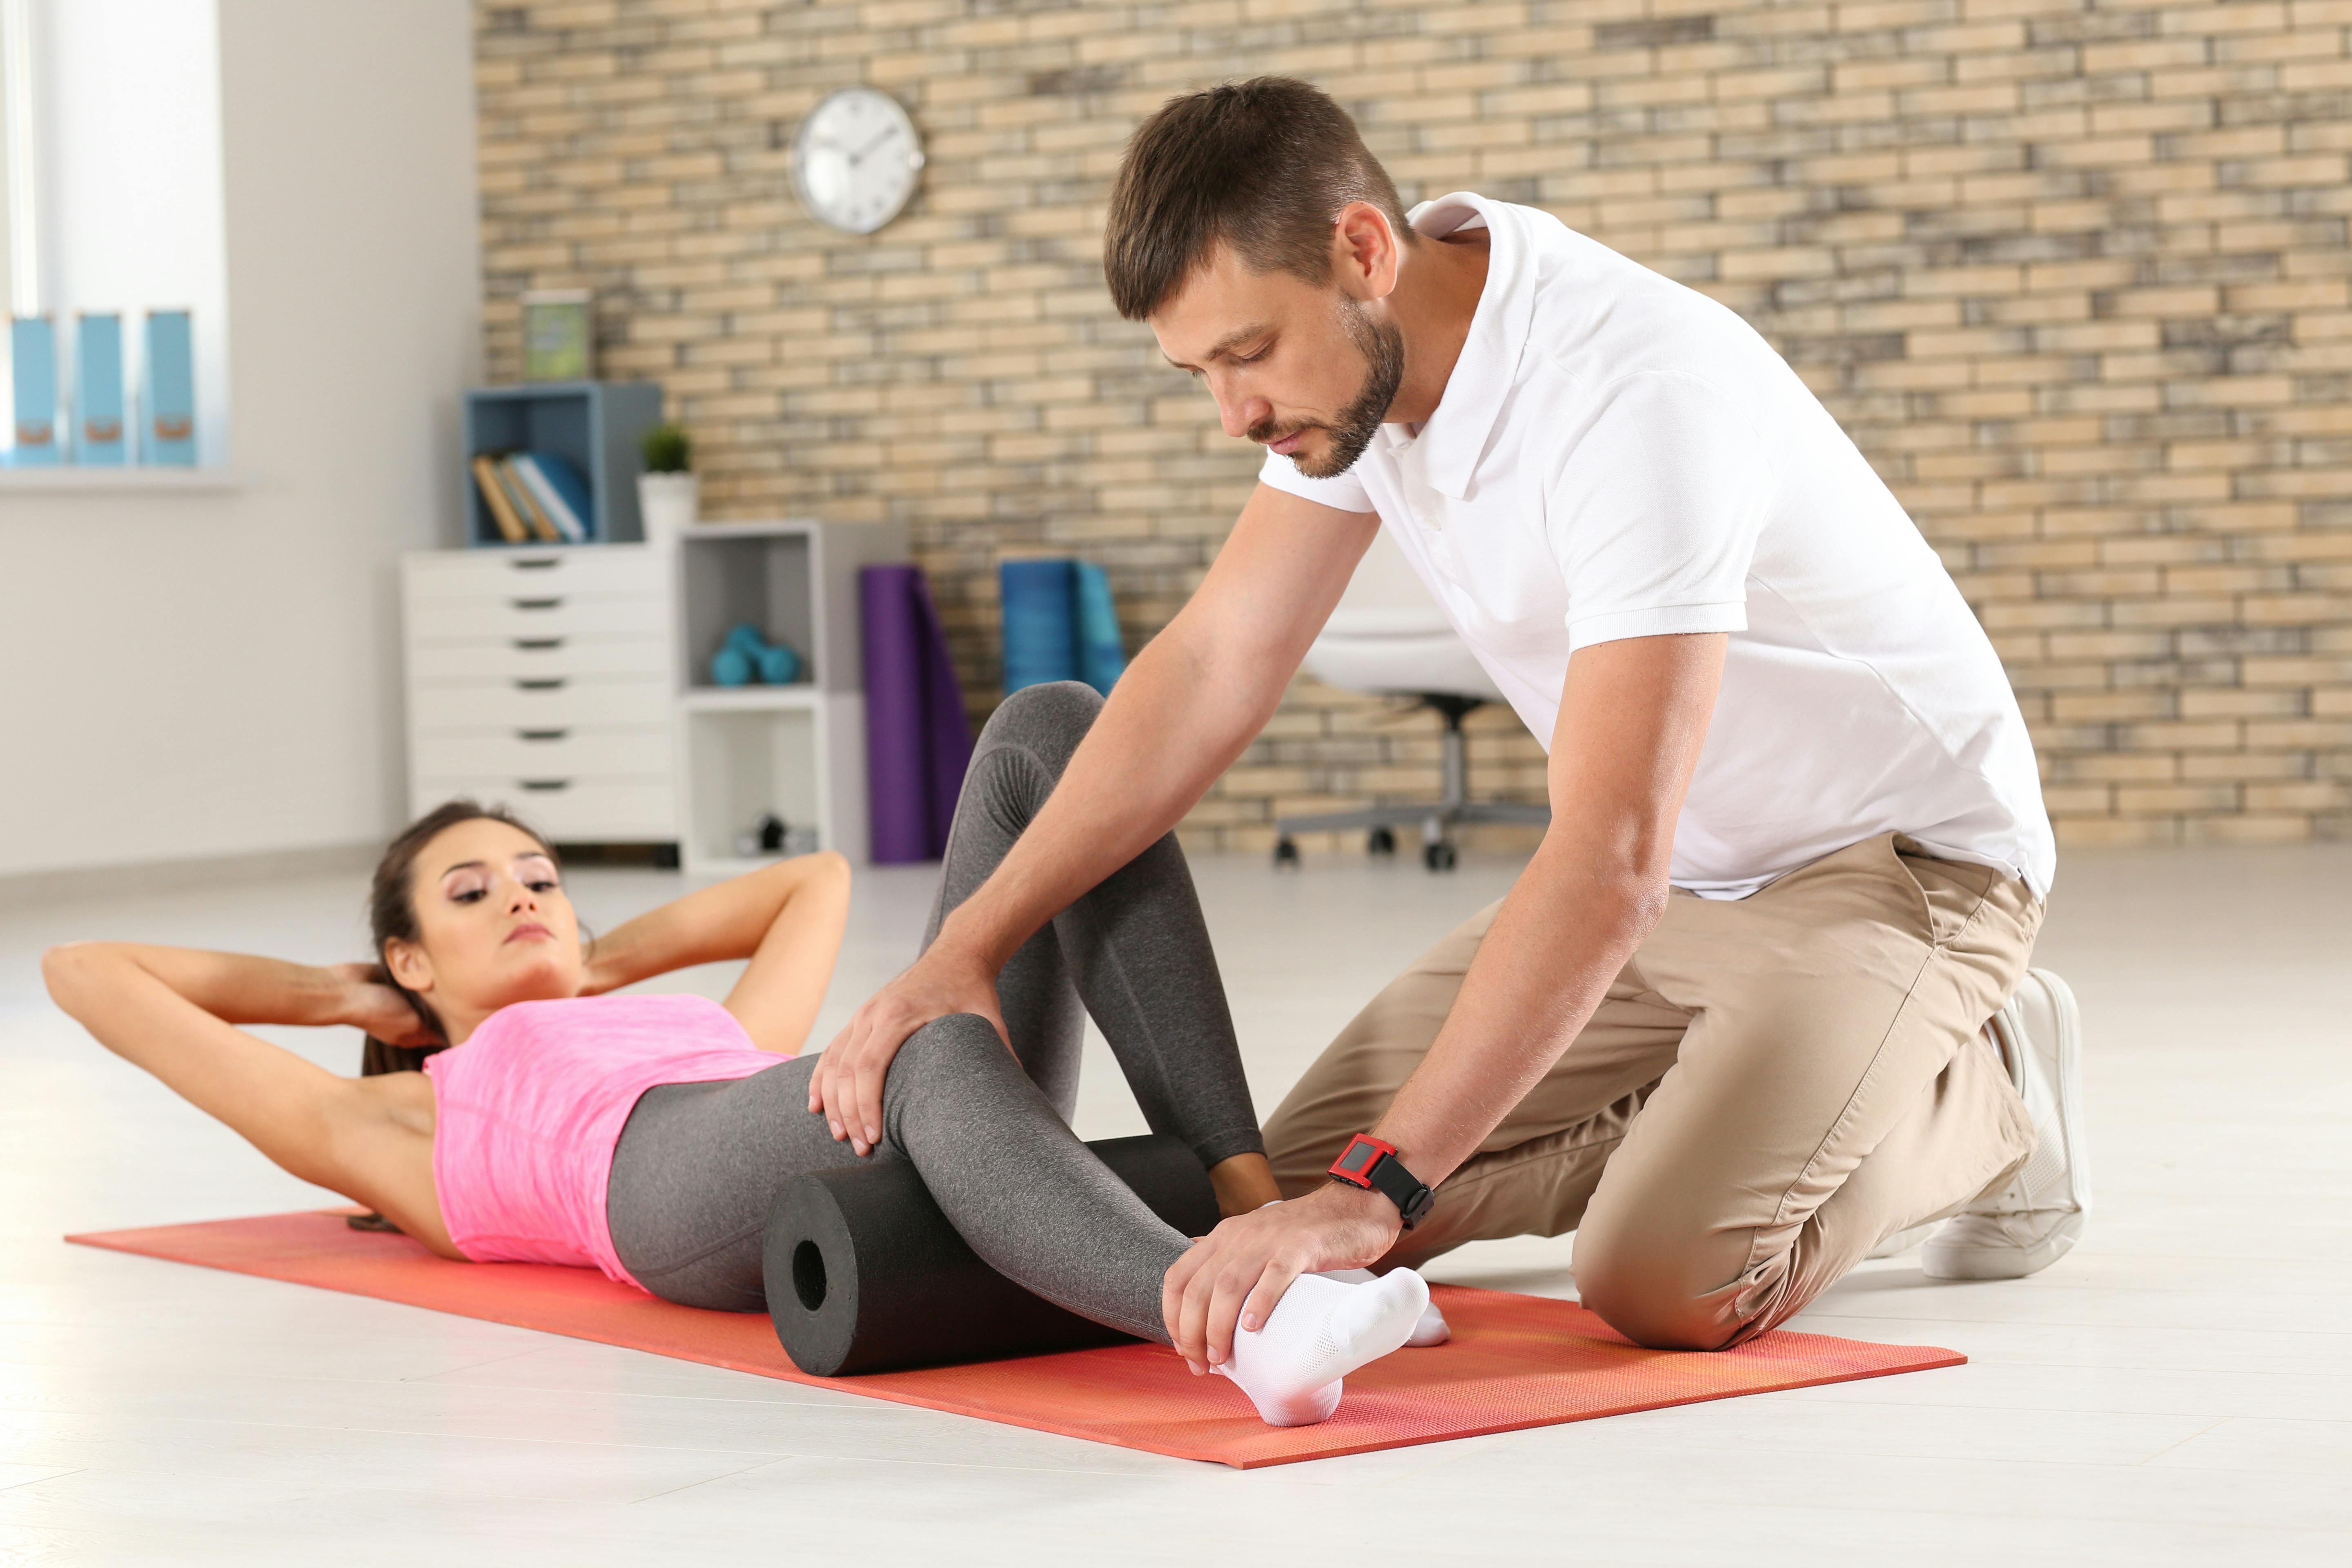
Knee Bends Exercise
- Stand one foot away from a wall. Keep your knees hip-width apart and point your feet slightly outwards
- With your knees pointing in the same direction as your feet, slide your back slowly down the wall so your knees bend. Don’t let your knees go over your toes
- To get back to a standing position, tense the muscles above your knees and your glutes. Returning to this position is 1 rep
- You can put an exercise ball between your back and the wall for a smoother movement
- Repeat 3 sets of 10 reps.

Lower Back Exercises
Lower back pain is sadly a common complaint, and cannot always be prevented. However, there are things we can do to relieve it, including lower back exercises that help strengthen the muscles in the area. Staying active, exercising and stretching is important for helping reduce pain. Get started by trying these 2 lower back exercises:
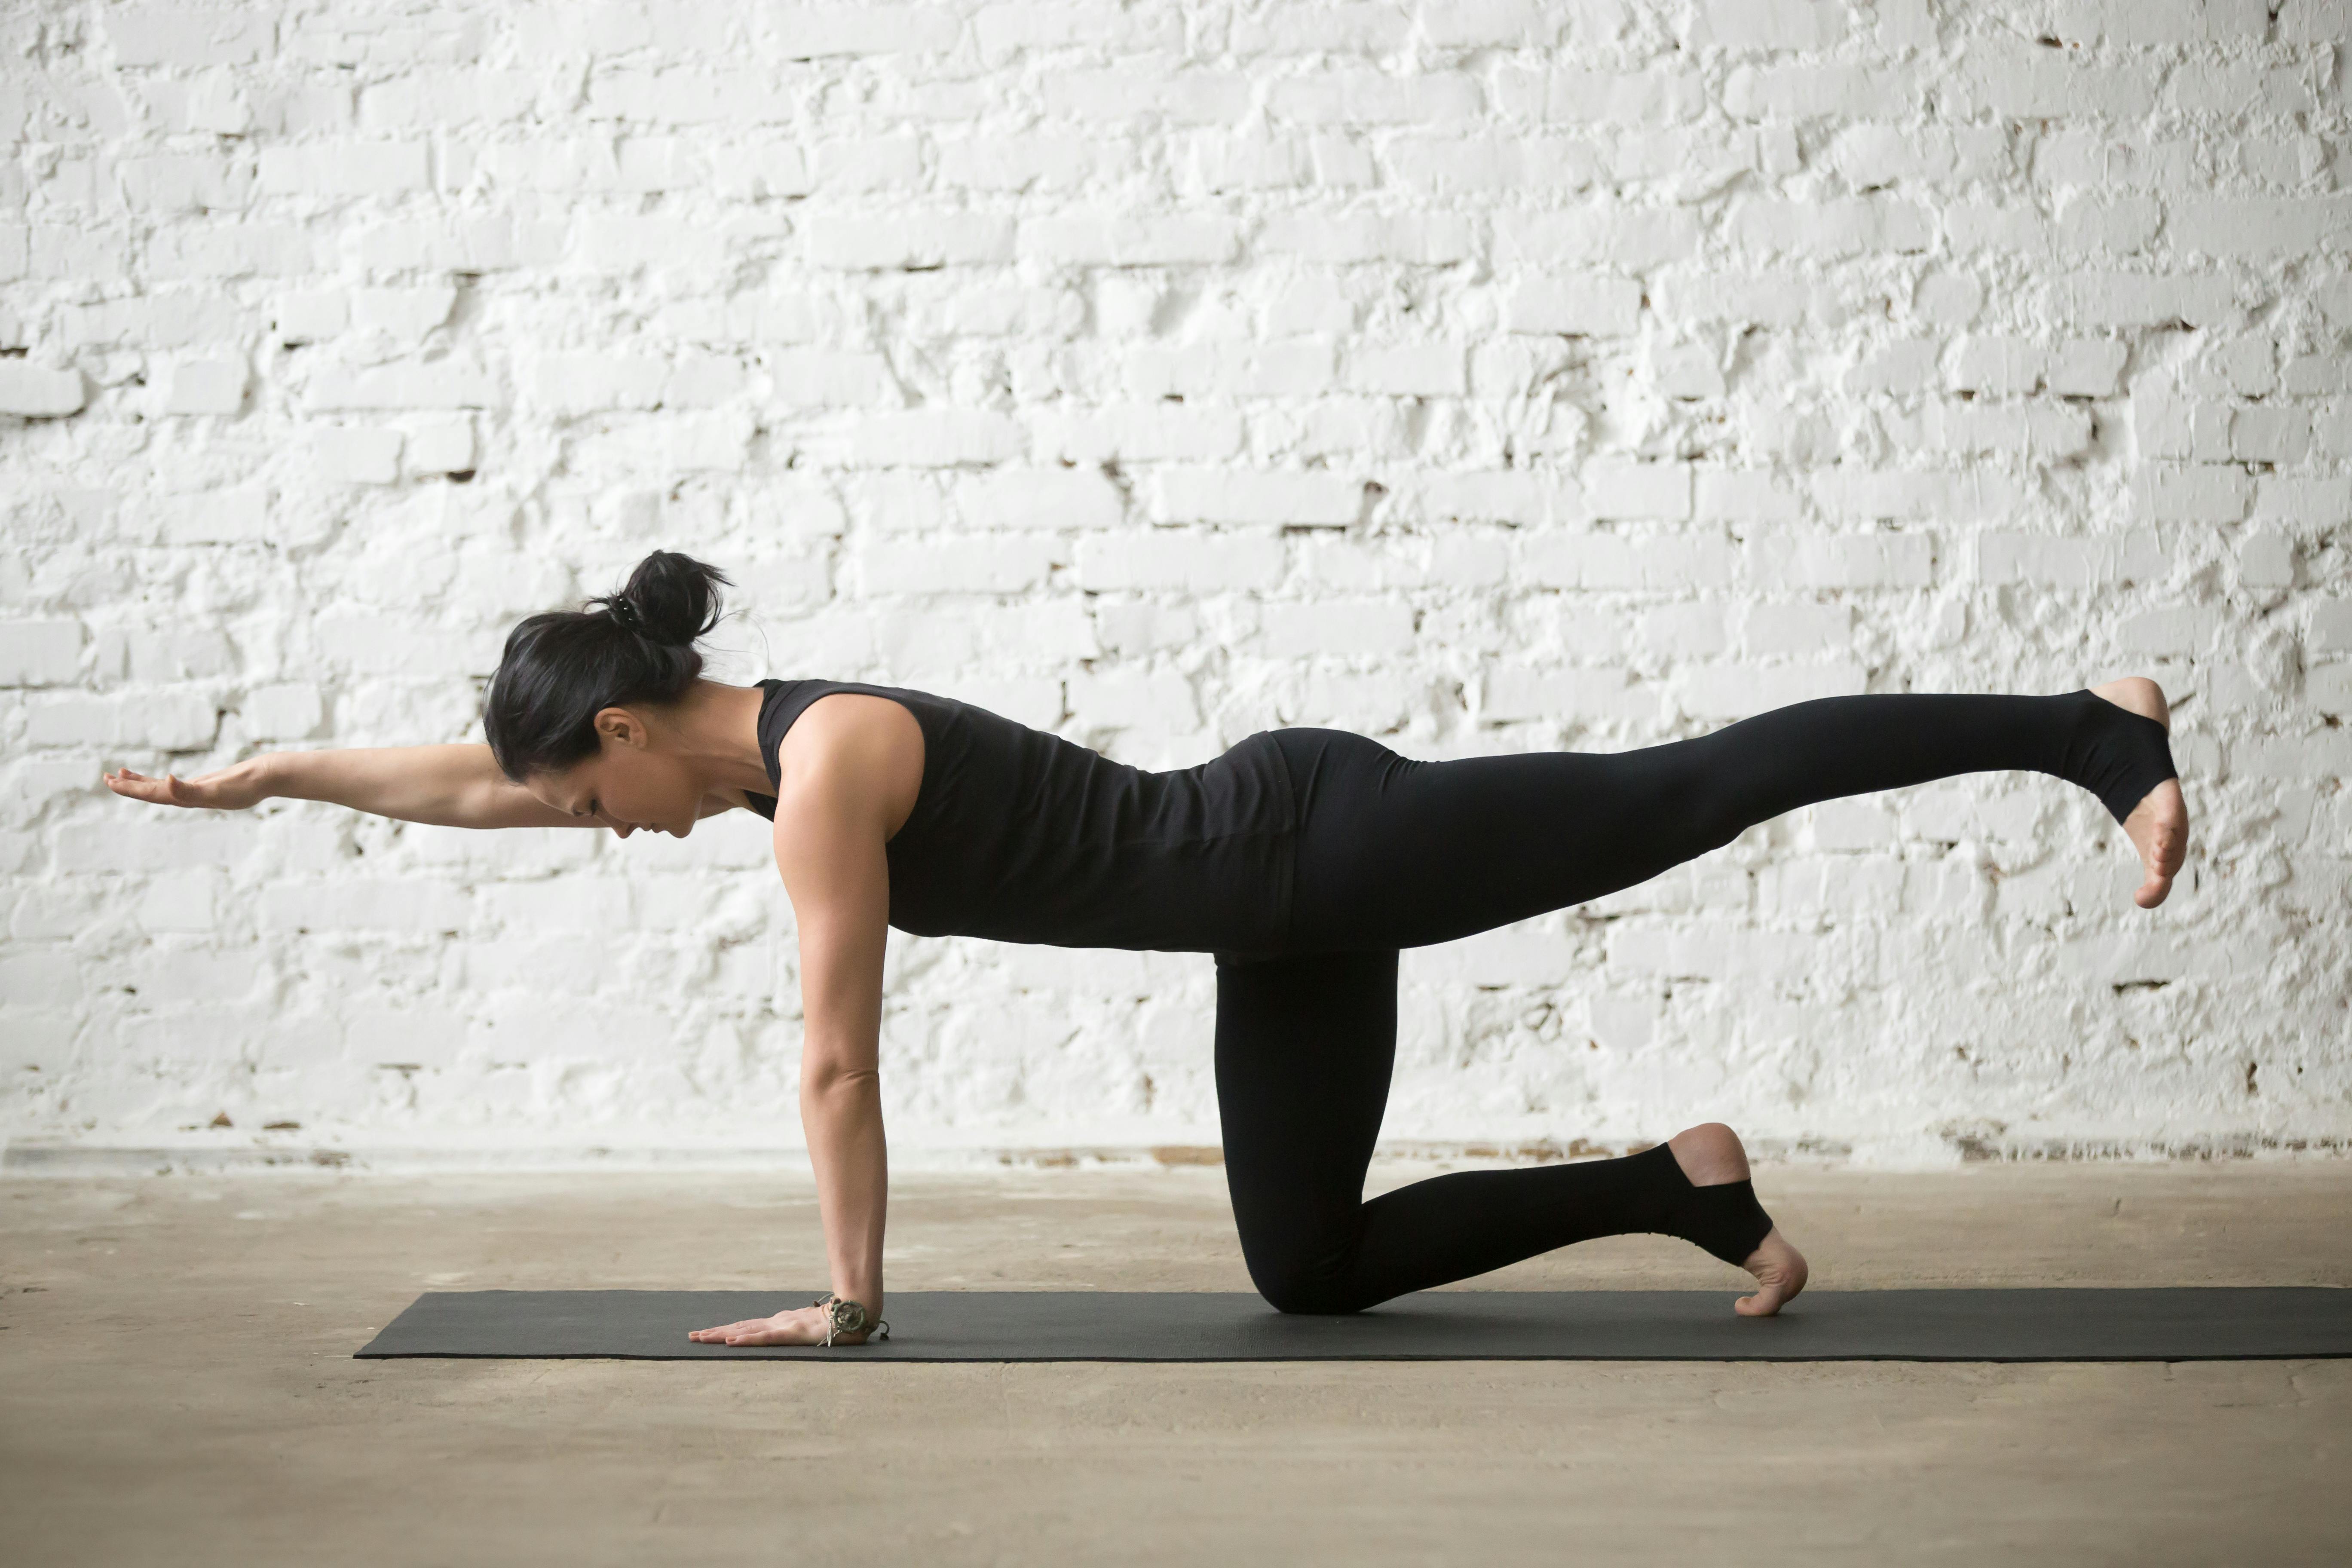
Bird Dog Exercise
- Get onto all fours with your wrists directly below your shoulders, and your knees in line with your wrists
- Look straight down at the ground – this helps you maintain a neutral spine throughout the movement
- Squeeze your shoulder blades together and squeeze your abs, all while keeping a straight spine
- Then, carefully lift and extend your right arm out straight in front of you, in line with your torso. At the same time, also lift and extend your left leg, tensing your glutes to help do this
- Pause here while maintaining tension in your shoulders and hips, before slowly lowering both limbs
- Repeat this using the opposite arm and leg.
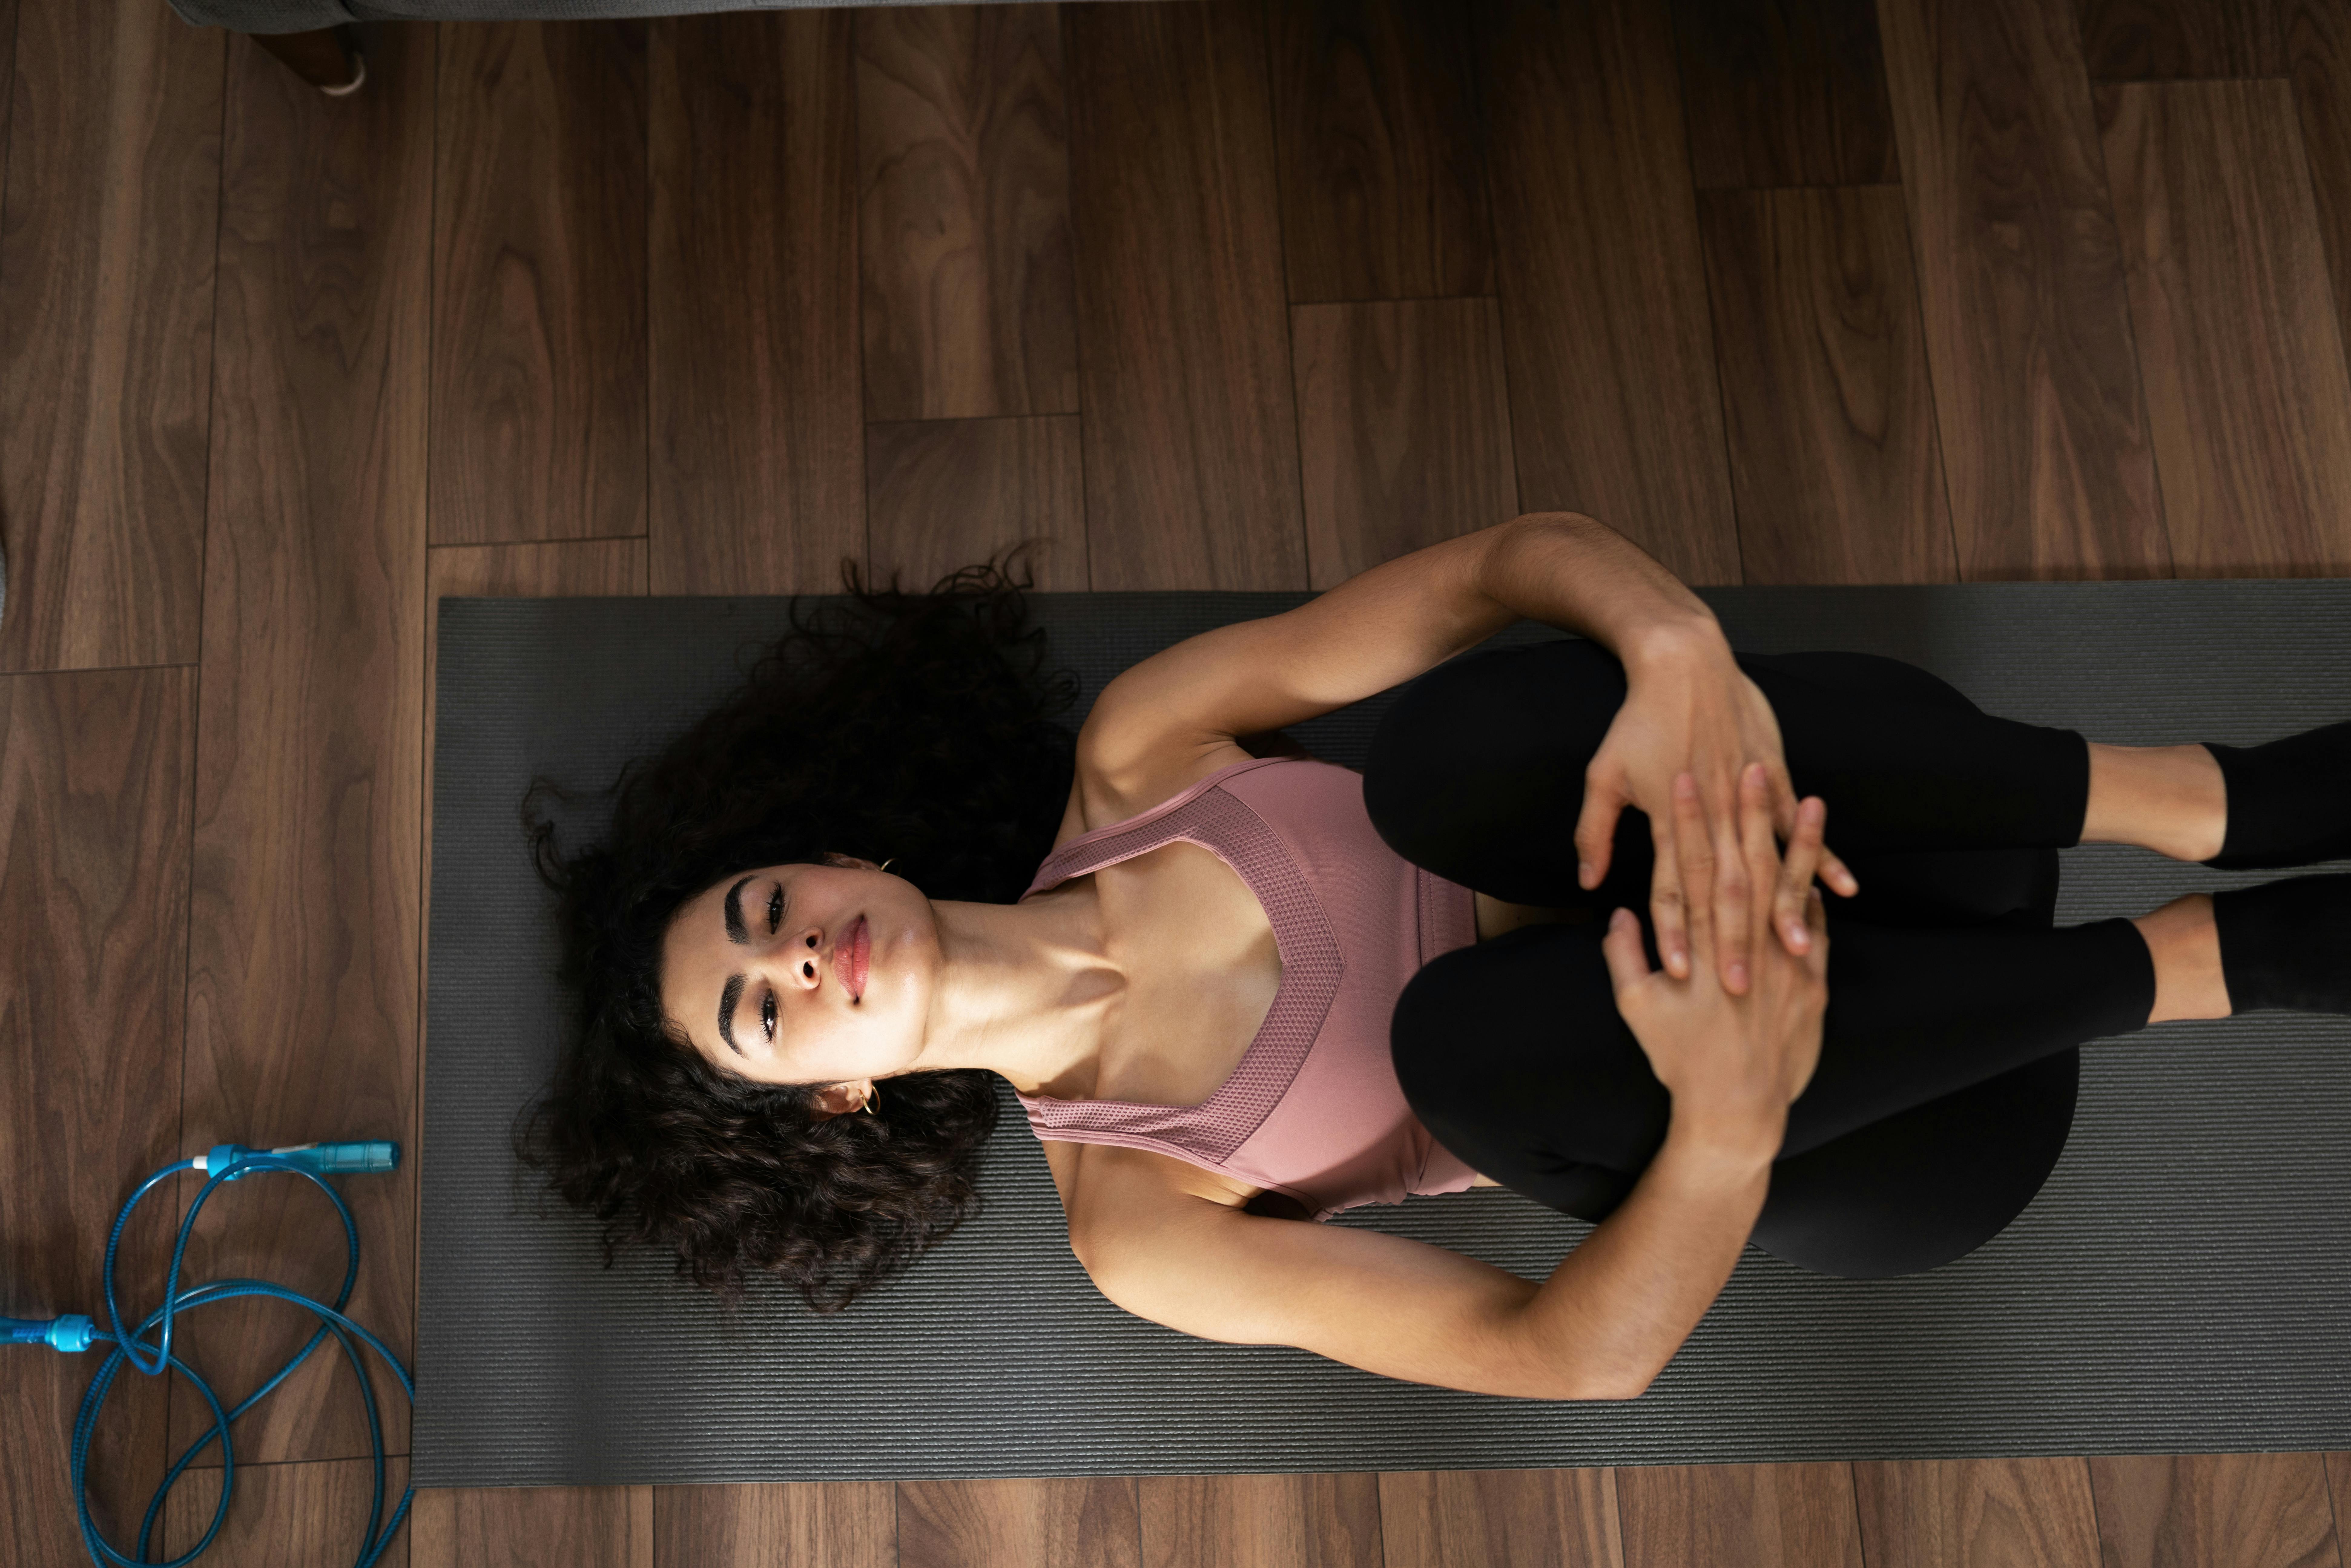
Knee Hugs
- Lay on your back, with your feet on the ground and knees bent facing upwards
- Lift your knees towards your chest – use your hands to gently draw them close to your chest
- Hold this for around 20 seconds, feeling the stretch in your lower back and glutes
- Return to the starting position and repeat as many times as is comfortable.
Mobility Exercises
Maintaining and improving your range of mobility is key to increasing your general strength and reducing your risk of injury. It helps improve your joint function and flexibility so you can move better. Better mobility helps to build strength and a greater range of movement during exercise, making your goals more achievable.
Mobility exercises focus on engaging the joints. Here are 2 you can start doing today – from the relatively simple jump squat to the complex yet very beneficial Turkish get up:
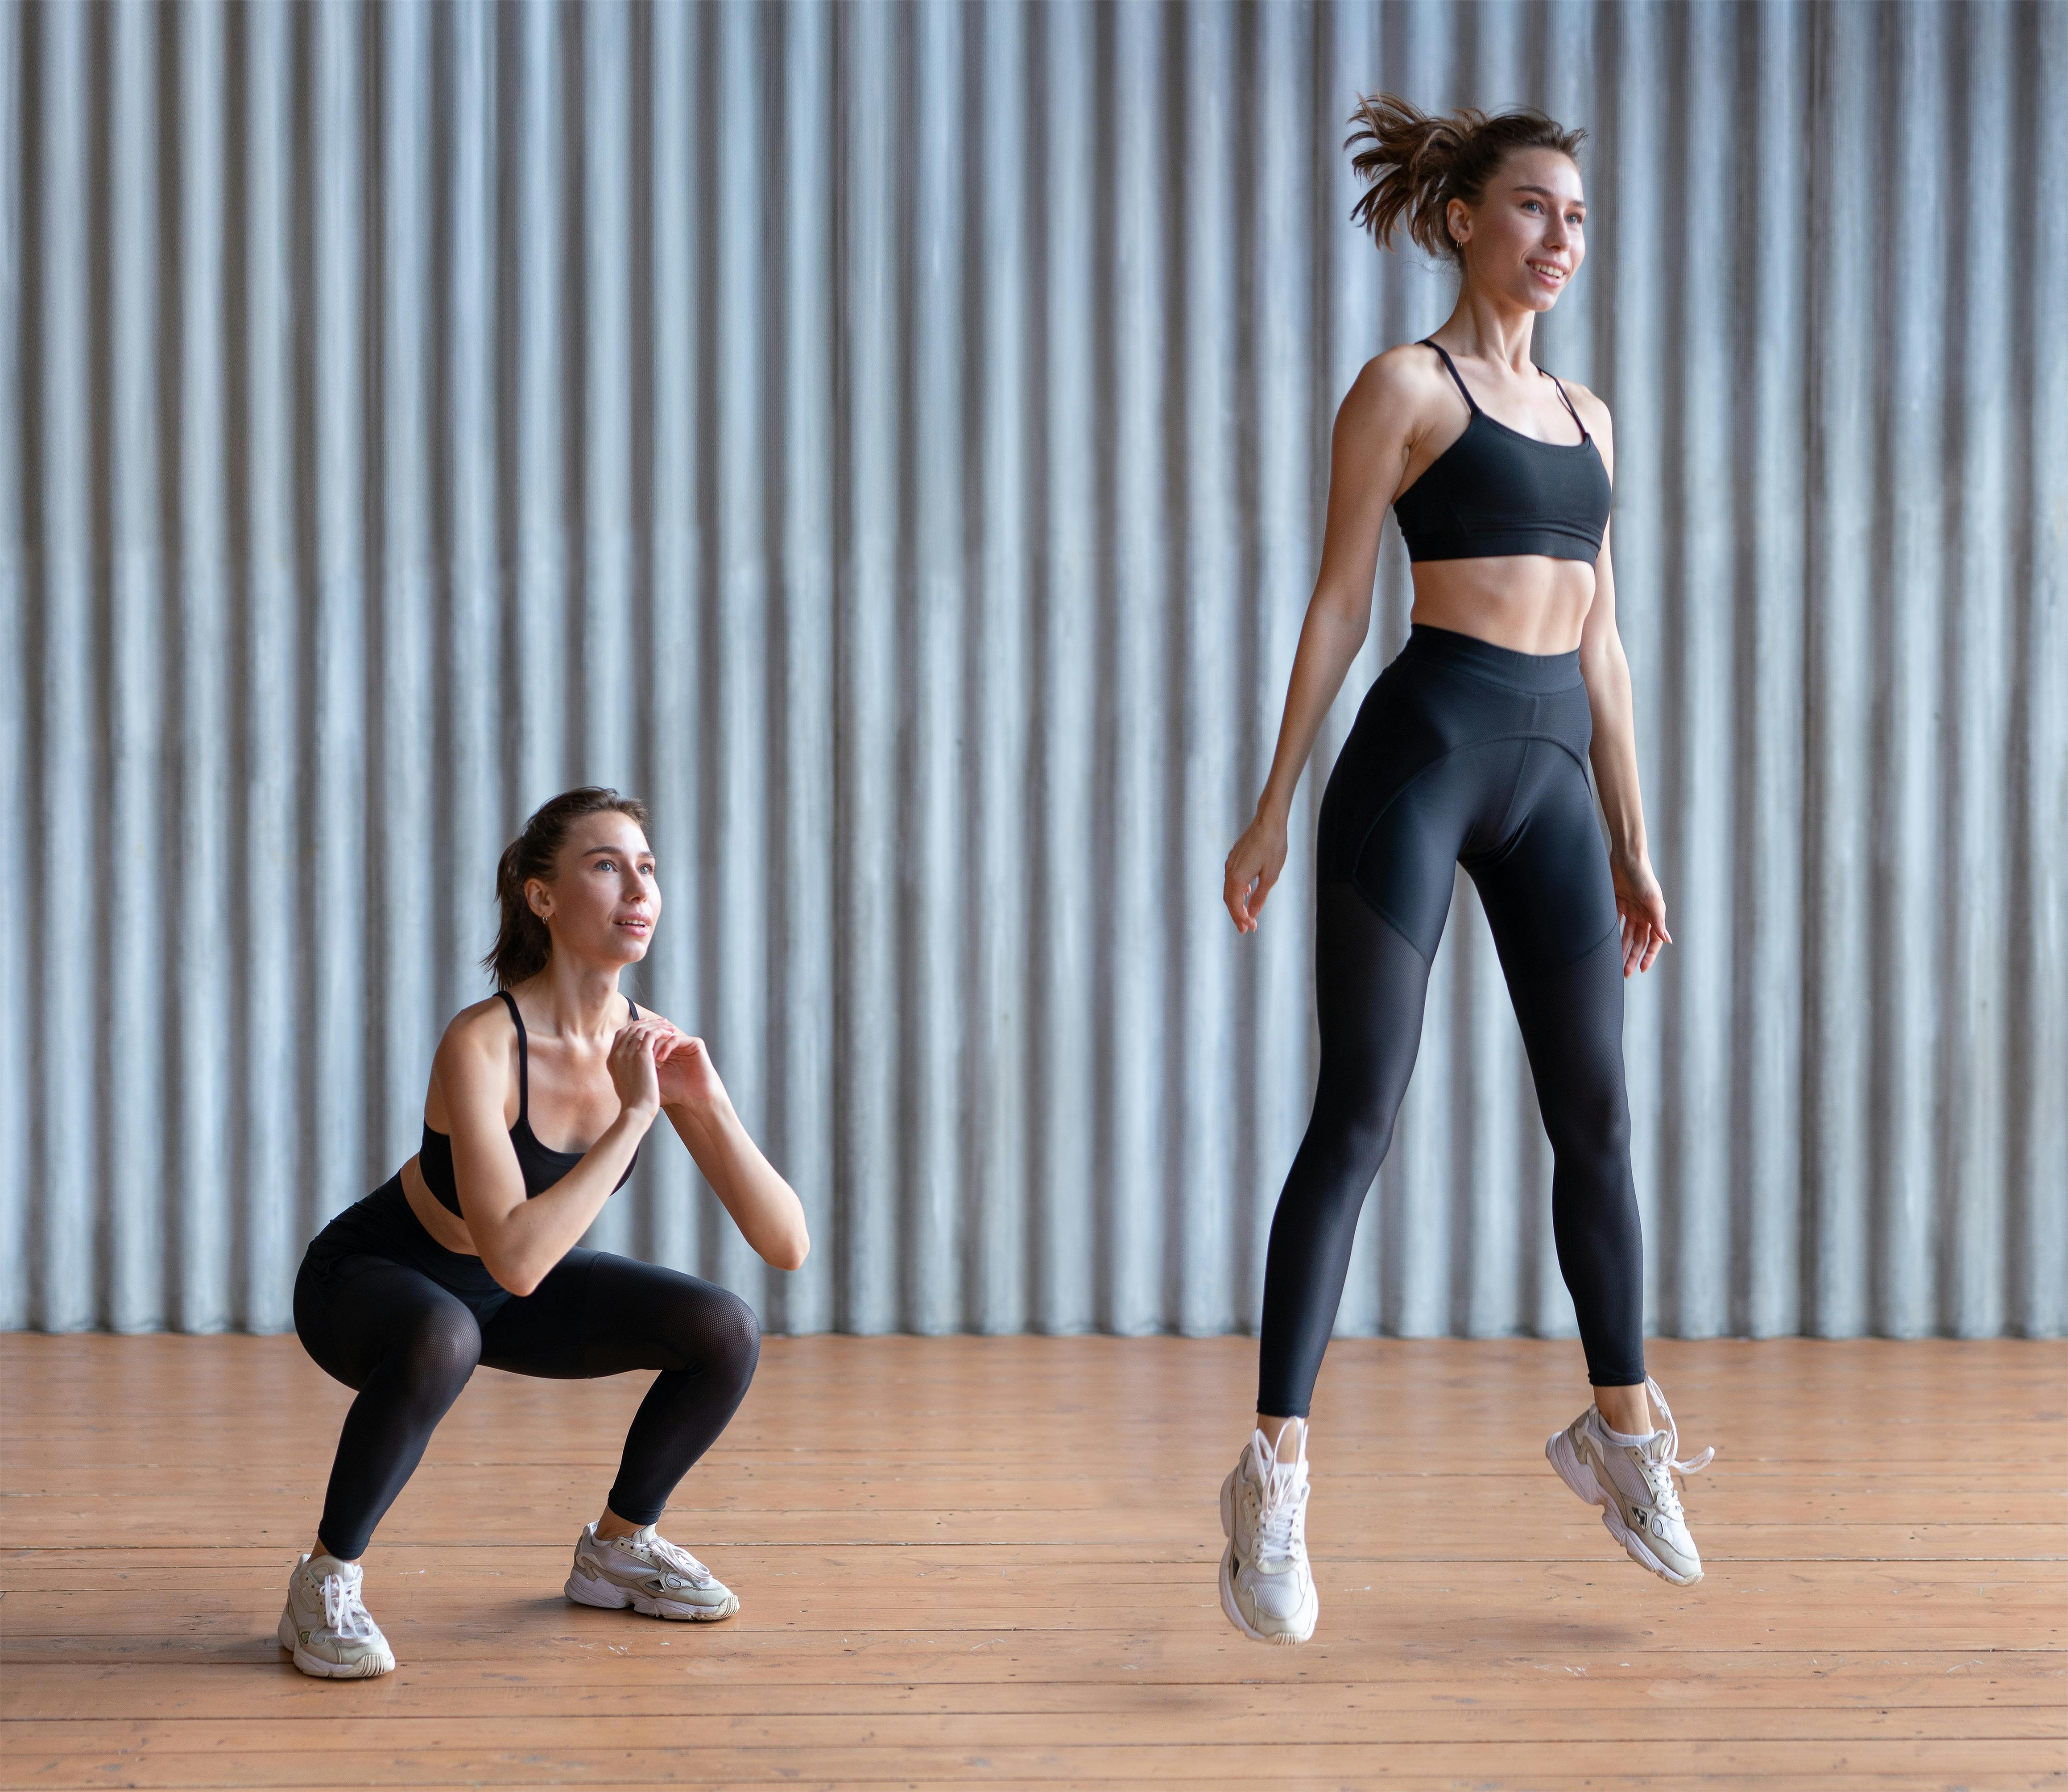
Jump Squat
- Stand with your feet just over hip-width apart, feet pointed slightly outwards
- Duck your hips back and downwards as far as you can, bending your knees as you go while lifting your chest
- Once down as low as you can go, press into your feet to help you jump upwards, swinging your arms for momentum if needed
- Come back down again into a deep squat, landing softly
- Repeat as many times as desired.
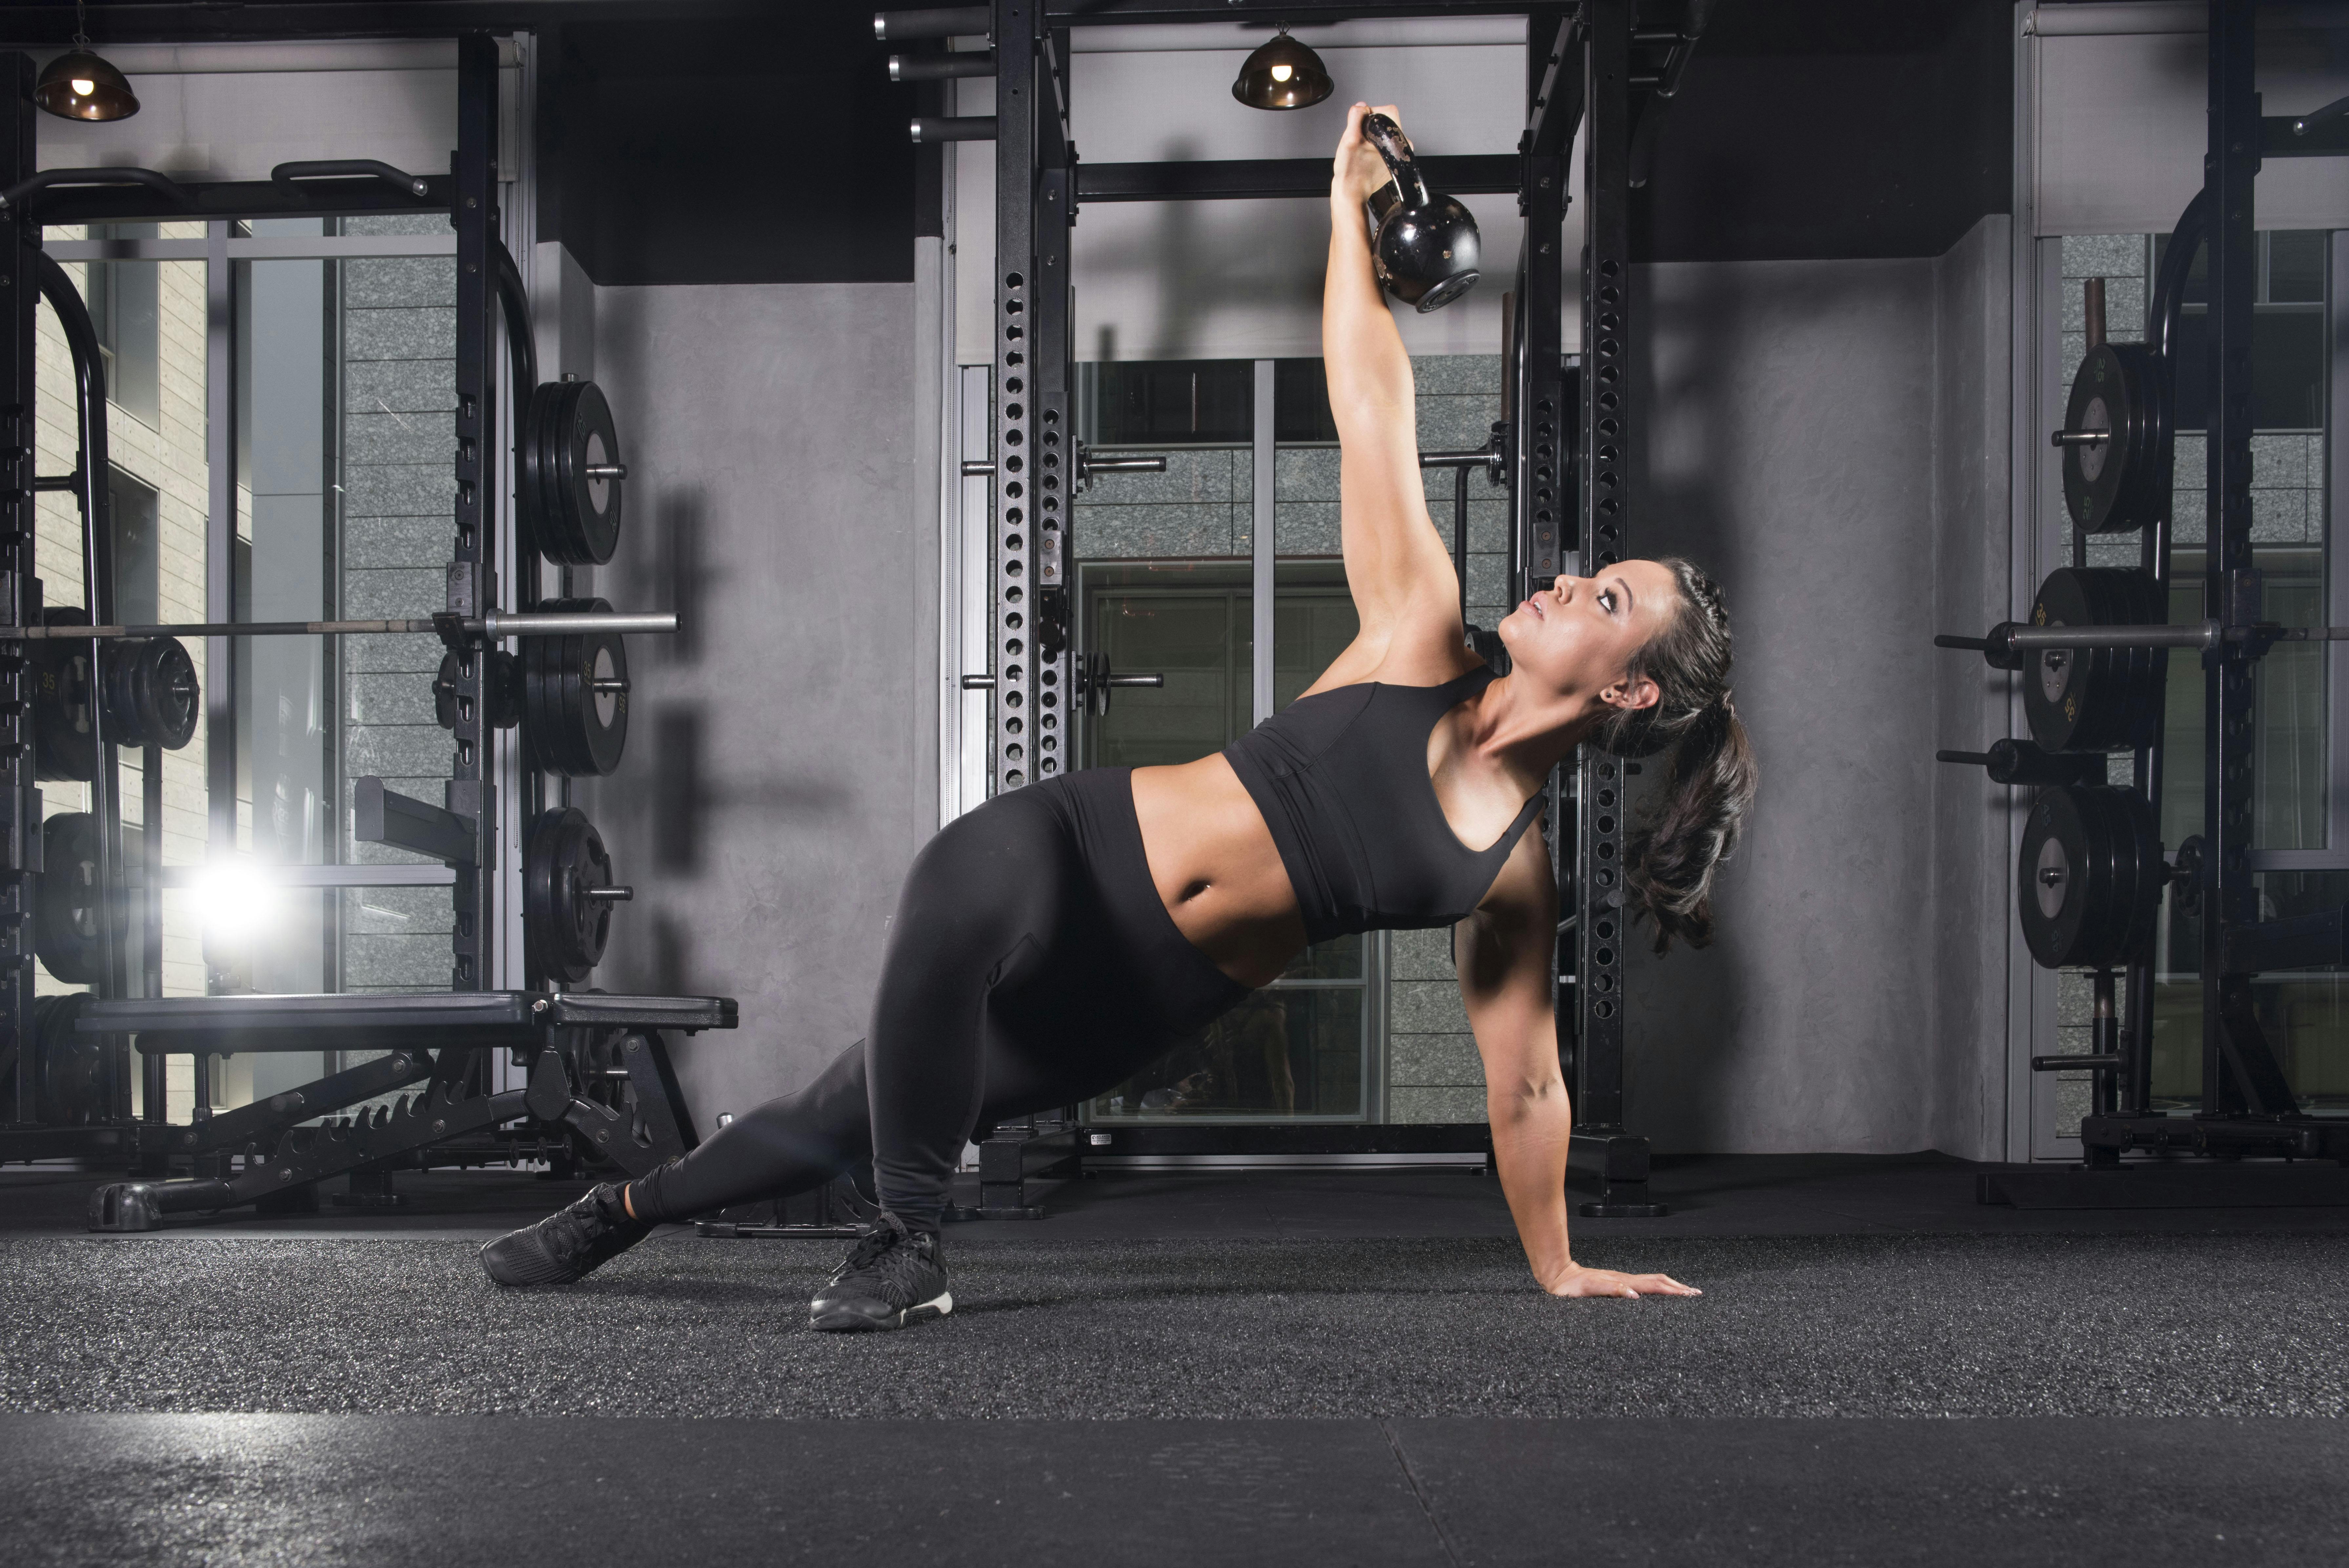
Turkish Get Up
- For this exercise you will need a kettlebell – but practice first without a weight to get your form right
- Start the move by lying on your left side on the floor, with a kettlebell in your left hand. The kettlebell should rest against the back of your hand and wrist
- Reach both arms outwards, pushing the kettlebell up and over your left shoulder. Then, lower your right arm and leg to your right side, both at a 45-degree angle, keeping your left arm straight
- Roll yourself up onto your right elbow, bringing your left shoulder off the floor – still holding the kettlebell directly over your shoulder
- Push your torso more upright and straighten your right arm, to land in an almost-sitting position
- Now, shift your weight to support your right hand and left foot. Engage your core and lift your right hip off the floor. While you do this, bring your right leg under your body, so you’re kneeling on your right knee. Keep the toes of your right foot in contact with the ground
- Carefully stand up, while bringing your right leg forward. Your feet should be hip-width apart with the kettlebell still overhead
- Lastly, reverse the sequence – this is one rep.
Click here to see a video illustrating how to perform a Turkish get up.
Shoulder Exercises
Like with most kinds of joint and muscular pain, keeping moving is essential for recovery, and shoulder pain is no different. Light shoulder exercises and stretches for at least 6-8 weeks after you start getting shoulder pain can help stop your pain from returning.
Rotator cuff exercises like wall push ups work out your rotator cuff muscles, which hold your arm into the shoulder joint, and easy arm circles can be done by almost anyone as a warm-up or recovery exercise. Learn how to do them below:
Wall Push-Ups
- Stand an arm’s length away from a wall
- Extend your arms in front of you with hands placed flat against the wall, at shoulder height and slightly wider apart than your shoulders
- Keeping your hands on the wall, take a step backwards with both feet, keeping your legs straight and putting your weight onto the balls of your feet
- Rotate your shoulders outwards
- Tense your glutes and quads, engaging your core at the same time (all reps should start from this position)
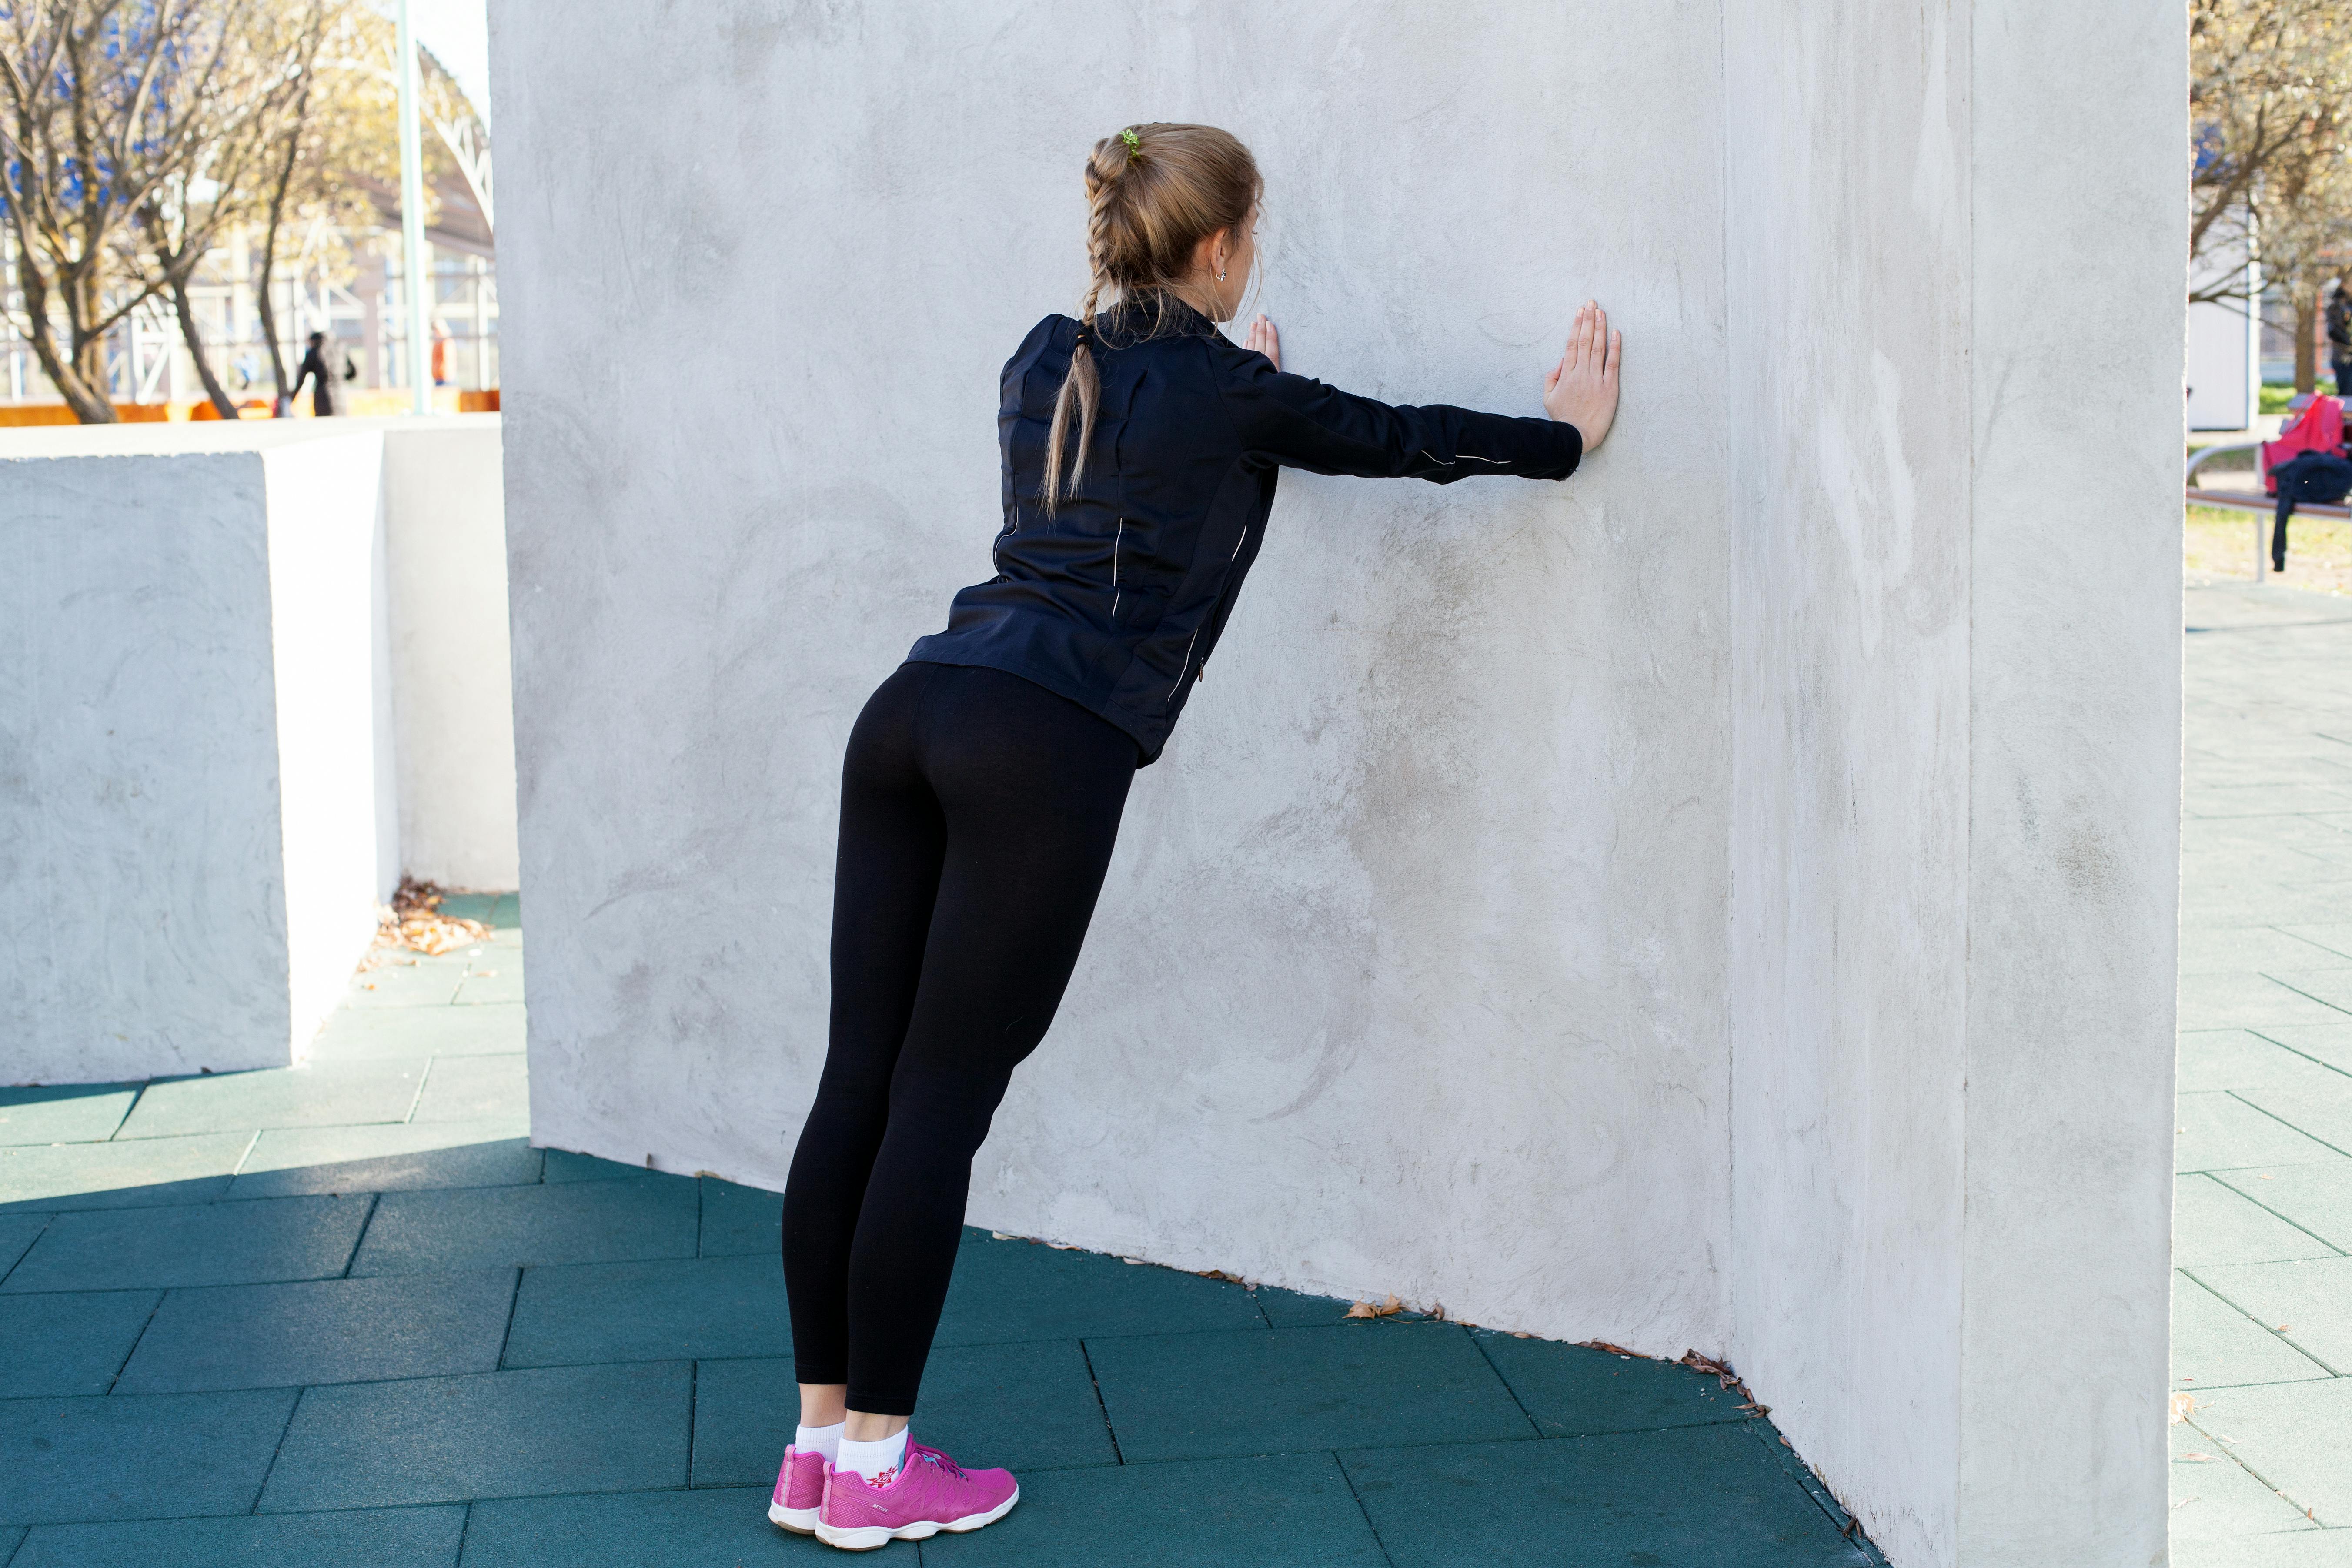
- Bend your elbows and lower your chest towards the wall, retracting your shoulder blades as you go. Move towards the wall until your upper arms are in line with your back – hold for a second
- Squeeze your chest and straighten your elbows to begin the upward movement, protracting your shoulder blades to get back to the rep-start position
- Repeat for 2-3 sets of 15-20 reps.
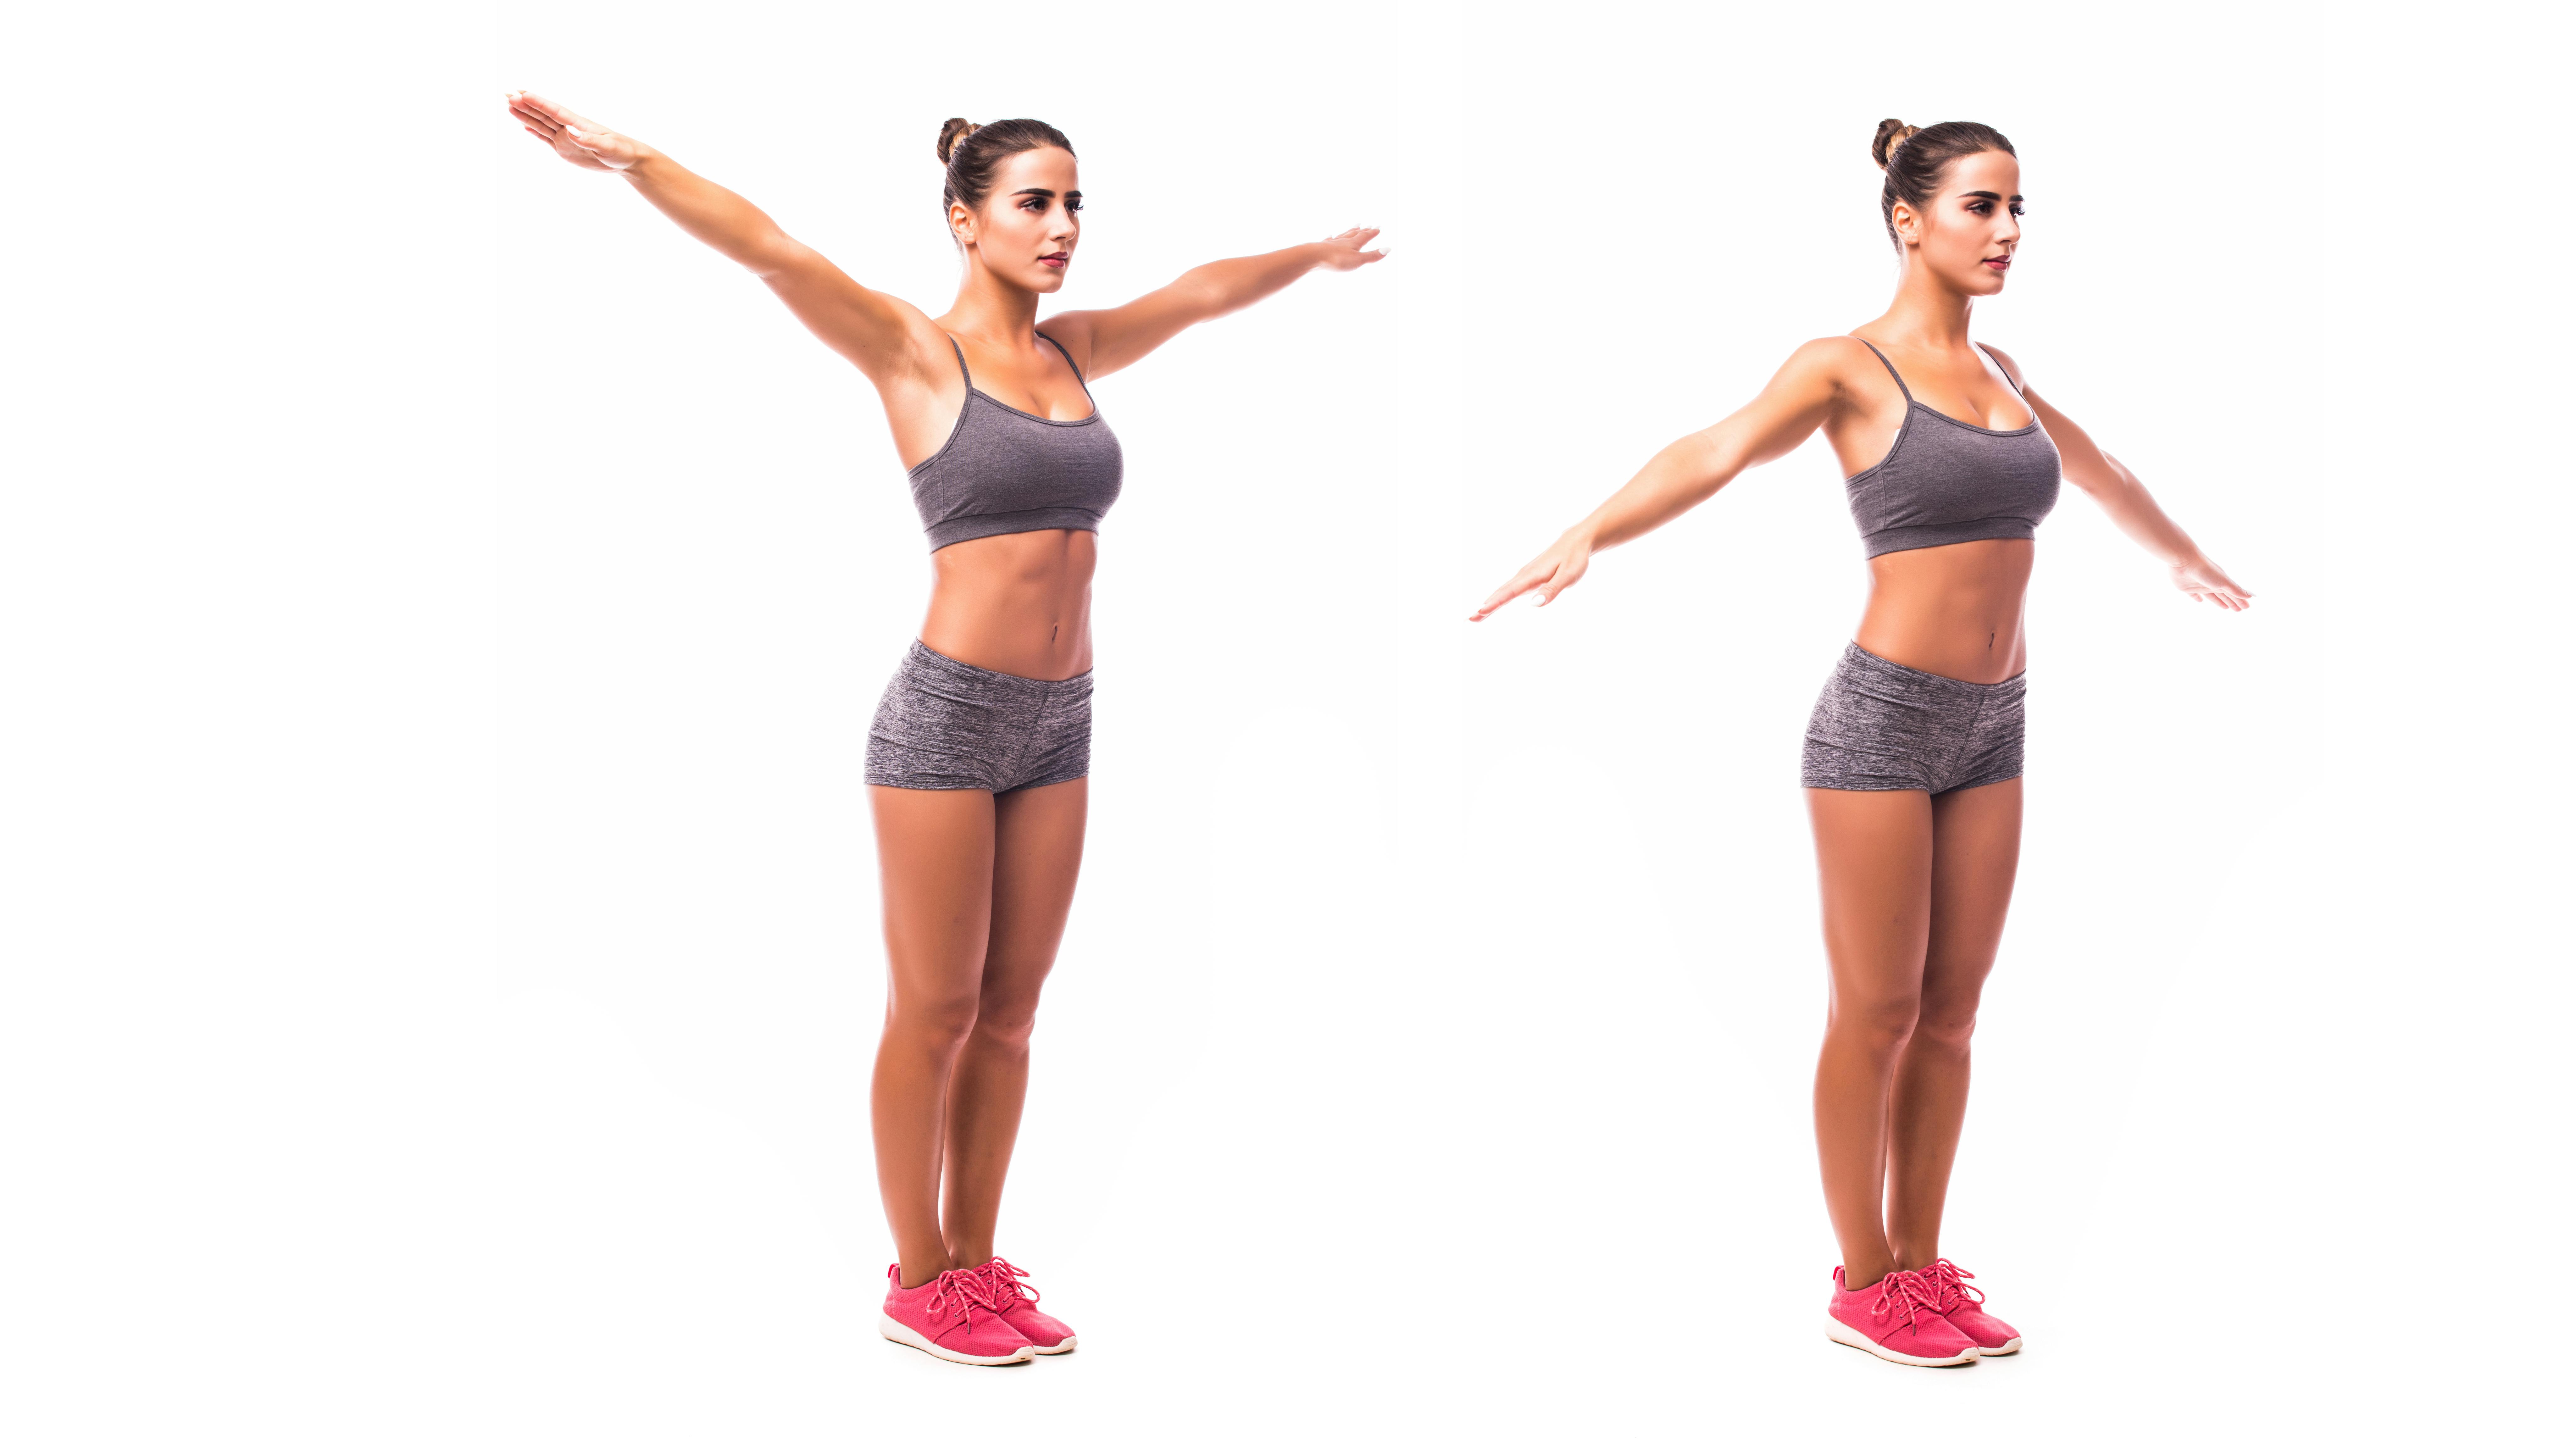
Arm Circles
- Stand with your back straight, feet shoulder-width apart, arms sticking out and parallel to the ground
- Rotate your arms in small circles, starting at the shoulder, keeping your back straight
- Begin making larger circles, remaining in control of the movement
- Continue for 10-15 seconds and then reverse the direction.
The Bottom Line
To recap, NHS advice on preventing injury during physical activity, whether that’s at work or during sports or exercise, is to always warm up and stretch before exercise; don’t push your body past what feels comfortable; wear and use protective equipment properly; and ask for help or training to ensure your form and movements are correct, so you don’t overexert yourself.
Keep this advice in mind before practicing injury prevention exercises and stretches. Move carefully, consider getting a trainer or fitness instructor to help you, and always consult a healthcare professional before changing your exercise routine – particularly if you have a health condition or an existing injury.


